To set up a professional voice-over studio at home with $200, focus on optimizing your space with soft furnishings like rugs and curtains to absorb sound. Choose a budget-friendly cardioid USB microphone such as the Audio-Technica ATR2100x-USB or Samson Q2U, paired with a pop filter and sturdy stand. Use foam panels or DIY acoustic treatments to cut echo and background noise. Staying organized and dedicated to your space boosts focus—and if you continue, you’ll discover how to get the best sound quality on a tight budget.
Key Takeaways
- Choose a quiet, clutter-free corner with soft furnishings to naturally absorb sound and reduce echo.
- Invest in a budget-friendly cardioid USB microphone like Audio-Technica ATR2100x-USB or Samson Q2U.
- Add DIY or foam acoustic panels to improve room acoustics and minimize sound reflections.
- Use a sturdy stand and pop filter to enhance microphone performance and eliminate plosive sounds.
- Keep the space quiet, organized, and well-optimized to produce clear, professional voice-over recordings within $200.

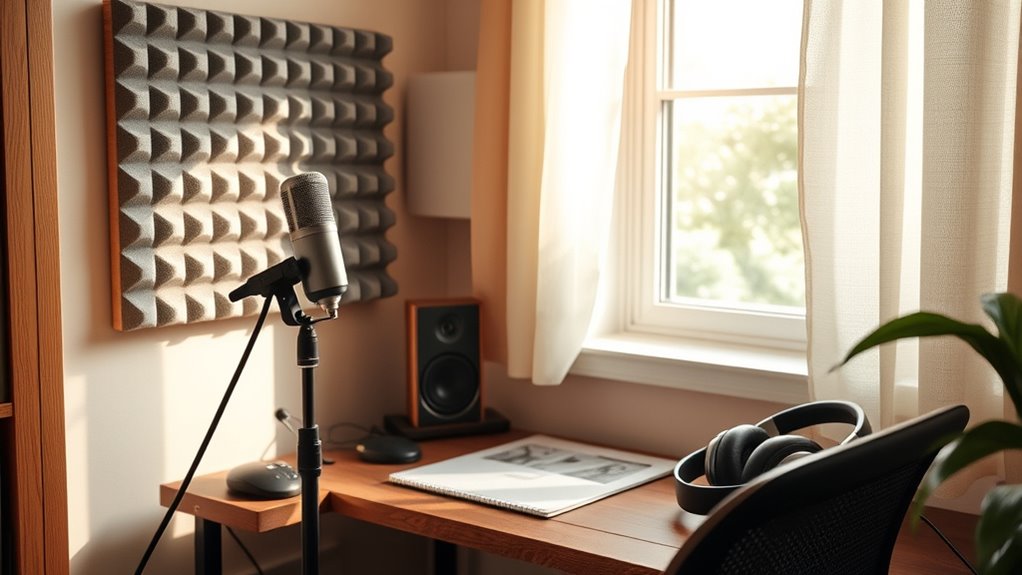
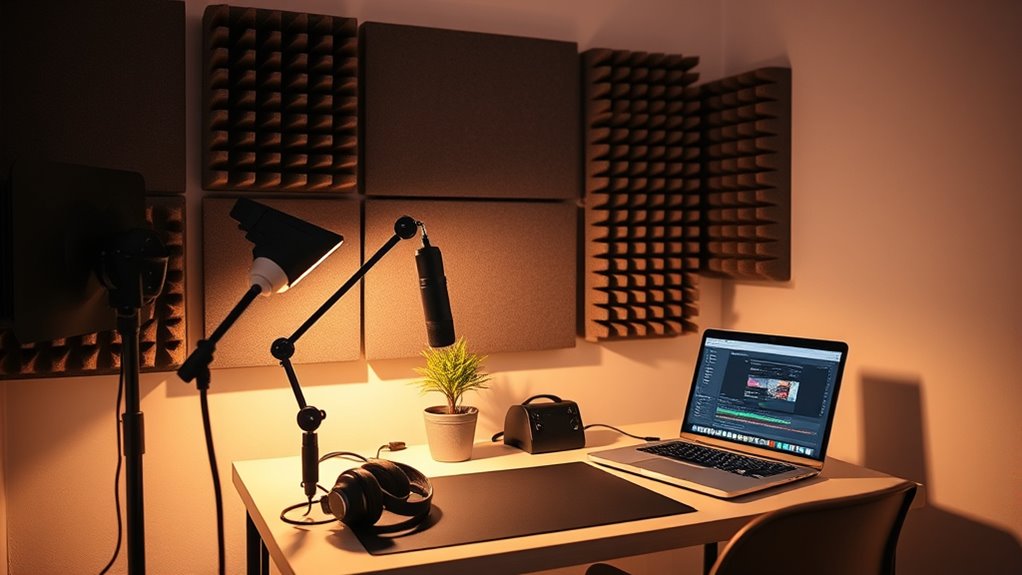
Working from home has made voice-over work more accessible than ever, allowing you to turn your voice into a flexible income stream without leaving your house. To do this effectively, setting up a simple yet professional-quality studio is essential, especially when working with a budget of around $200. The first step is understanding how to optimize your space for good studio acoustics. You don’t need a soundproof room, but you do want to minimize echo and background noise. Choose a small, quiet space, ideally a corner with soft furnishings like rugs, curtains, or blankets that absorb sound. If possible, add foam panels or DIY acoustic treatments to reduce reflections. This helps your voice sound clearer and more professional, which is *vital* when recording voice-overs. A clutter-free, dedicated space will also help you get into the right mindset, making your sessions more productive.
Next, your microphone selection is key. You don’t need the most expensive gear to produce quality recordings, but investing in a decent microphone will make a noticeable difference. Look for a cardioid condenser microphone, which is ideal for voice work because it captures your voice directly in front of it while reducing background noise from the sides and back. You can find reliable options in the $50–$100 range, such as the Audio-Technica ATR2100x-USB or the Samson Q2U. These mics are versatile, offer USB connectivity, and are easy to set up, making them perfect for beginners. Avoid cheap, built-in computer microphones—they tend to pick up too much ambient noise and produce inferior sound quality. Pair your microphone with a sturdy stand and a pop filter to eliminate plosive sounds, which can cause distortion in your recordings. Additionally, understanding the importance of audio quality can significantly improve your recordings and help you stand out in the competitive voice-over market.
Another affordable upgrade is a basic audio interface if you want to improve sound quality further, but many USB microphones now include this feature internally. Keep your recording environment quiet, invest in a good microphone, and arrange your space with soft furnishings to improve studio acoustics. These small steps can dramatically enhance your voice recordings, making your portfolio stand out to clients. With careful setup, you can produce professional-sounding voice-overs right from your home, all within your $200 budget. Remember, consistency and attention to detail in your studio setup will help you deliver clear, polished recordings, setting you on the path to a successful voice-over career from the comfort of your own home.
Frequently Asked Questions
What Are the Best Budget Microphones for Beginners?
When choosing budget microphones for beginners, focus on microphone types like USB mics, which are easy to use and affordable. Look for budget audio equipment that offers good sound quality without breaking the bank. Popular options include the Blue Snowball iCE or the Audio-Technica ATR2100x. These mics are perfect for starting out, providing clear audio while fitting your budget and simplifying setup.
How Do I Improve My Voice-Over Delivery at Home?
To improve your voice-over delivery at home, start with vocal warm-ups to loosen your voice and reduce strain. Practice reading scripts aloud regularly to build confidence and clarity. Focus on your breathing, enunciate clearly, and vary your pitch to keep listeners engaged. Recording yourself and listening back helps identify areas for improvement. Consistent practice with these techniques will naturally enhance your voice-over skills over time.
What Free Software Options Are Available for Editing Voice Recordings?
You can improve your voice-over recordings with free audio editing software like Audacity, which offers powerful tools for noise reduction and editing. It’s user-friendly, and you can easily trim, enhance, and clean up your recordings. By mastering noise reduction features, you’ll achieve clearer, more professional-sounding audio. This way, you save money while enhancing your voice-over quality, making your recordings stand out without investing in costly software.
How Do I Find Legitimate Voice-Over Job Opportunities Online?
To find legitimate voice-over job opportunities online, explore reputable freelance platforms like Upwork, Fiverr, and Voices.com. Create a compelling profile showcasing your skills and samples. Use audition tips such as tailoring your demos to each job and following instructions carefully to stand out. Regularly check listings, apply promptly, and build your reputation by delivering quality work. This approach helps you connect with clients and grow your voice-over career confidently.
What Are Common Mistakes to Avoid When Setting up a Home Studio?
When setting up your home studio, avoid common mistakes like neglecting studio acoustics, which can distort your sound, and overlooking electrical wiring, risking noise interference. Make sure to optimize your space with soundproofing and proper wiring to ensure clear recordings. Don’t rush the setup—invest time in acoustic treatment and safe electrical installation. This attention to detail will improve your audio quality and professionalism, making you more appealing to clients.
Conclusion
With just $200, you’ve set up a home studio that transforms your quiet space into a professional voice-over hub. Imagine your voice echoing through the room, filling the silence with energy and possibility, all from the comfort of your home. It’s a simple investment that turns your everyday environment into a bustling workplace, where creativity and opportunity collide. Now, your quiet corner becomes the stage where your voice can truly shine, opening doors to endless possibilities.


