
To get that professional “office glow,” position your light slightly above eye level at a 45-degree angle and use a soft, diffused source with a color temperature around 5500K–6500K. This setup offers balanced, natural lighting that minimizes shadows and highlights your best features. Avoid harsh overhead or side lighting, and consider adding a fill light if needed. Keep experimenting with adjustments—more helpful tips are coming your way.
Key Takeaways
- Position your main light slightly above eye level at a 45-degree angle for soft, flattering illumination.
- Use diffused, soft light sources with a color temperature around 5500K–6500K for a natural, professional look.
- Incorporate fill lights to minimize shadows and add depth, preventing flat or harsh lighting.
- Avoid harsh overhead or side lighting that creates unflattering shadows or glare on your face.
- Experiment with diffuser materials or bounce techniques to soften light and achieve a balanced, even glow.
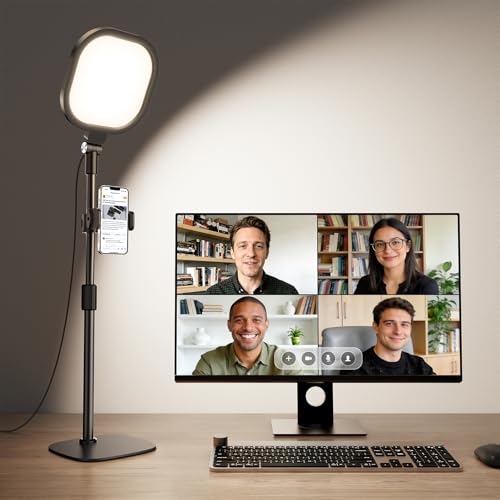
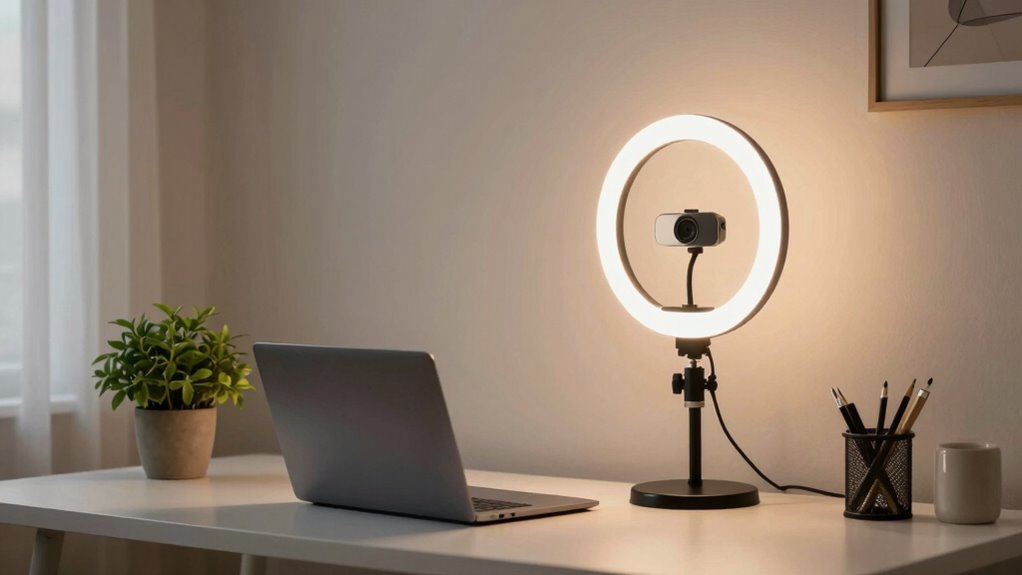
Zoom Lighting for Computer, Adjustable Desk Lighting for Video Calls, 30 Light Modes Video Conference Light, Desk Ring Light with Stand for Webcam, Meetings, Live Stream, Home Office. CRI 97.8
Uniform and Soft Illumination: LitONES desk video conference light utilizes advanced edge-lit technology, delivering even and gentle lighting…
As an affiliate, we earn on qualifying purchases.
As an affiliate, we earn on qualifying purchases.
How to Achieve That Perfect Office Glow With Webcam Lighting

To achieve that perfect office glow with webcam lighting, you need to focus on creating a balanced and natural look. Start by adjusting the color temperature of your lights, aiming for a warm, soft tone that mimics natural daylight—around 5500K to 6500K. This helps prevent your skin from appearing too yellow or too blue. Shadow control is equally important; position your lights to minimize harsh shadows on your face. Use diffusers or bounce light off a nearby wall to soften shadows and create even illumination. Avoid placing lights directly above or below your face, which can distort your features. Proper lighting setup can dramatically improve your overall appearance and confidence on camera, especially when considering lighting angles for optimal effect. Adjusting your lighting positioning ensures your face is evenly lit and reduces unflattering shadows. Additionally, understanding color temperature helps you select the right bulbs to achieve a natural and professional look, and incorporating lighting accessories can further refine your setup for a polished appearance.

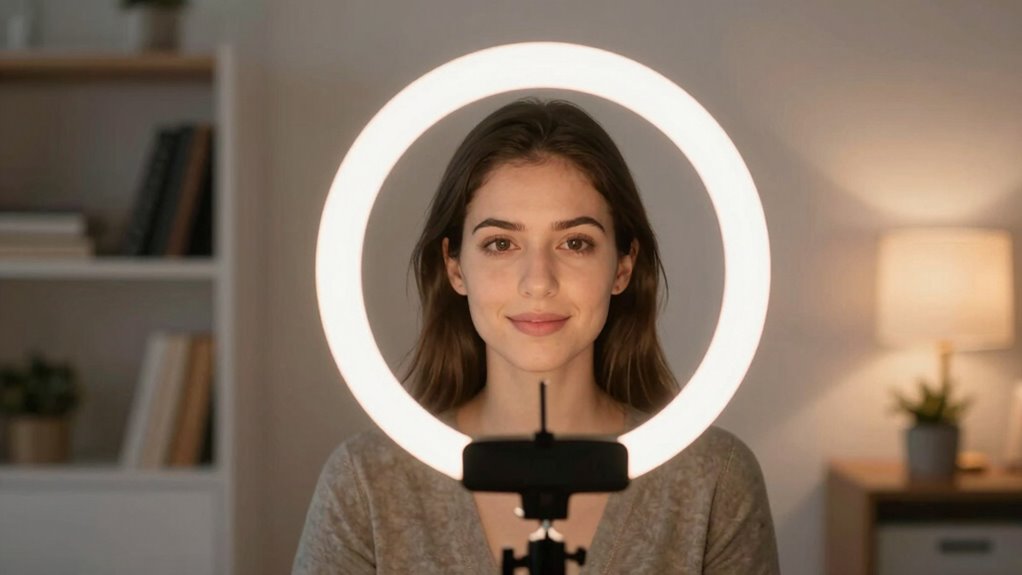
LitONES LED Desk Lamp for Home Office, Professional Eye-Caring Diffused Desk Light, 3 Color 10 Brightness Computer Light, Dimmable Office Lamp with Memory & Timer Func, Metal Swing Arm Table Lamp
More than a Desk Light: This office lamp isn't just for brightening your workspace—it's designed to brighten you,…
As an affiliate, we earn on qualifying purchases.
As an affiliate, we earn on qualifying purchases.
Webcam Lighting Basics: Principles for a Natural Look
Understanding the core principles of webcam lighting helps you create a natural, professional look on camera. First, pay attention to lighting angles; position your lights at eye level or slightly above to avoid unflattering shadows and ensure your face is evenly lit. Avoid harsh, direct light that causes glare or shadows, and opt for softer, diffused lighting. Color temperature also plays an essential role—aim for around 4,500K to 5,500K, which mimics natural daylight and keeps your skin tones looking authentic. Adjusting the Color temperature prevents your video from looking too warm or too cool. When you combine proper lighting angles with the right color temperature, you’ll achieve a balanced, natural appearance that enhances your professional presence on camera. Incorporating lighting angles aligned with your environment can further improve the overall effect. Being mindful of the diffusion techniques you use can help soften light sources and eliminate harsh shadows, contributing to a more polished look. Additionally, understanding the importance of lighting placement can help optimize your setup for different environments. Embracing these fundamental principles can boost your confidence and make your video presence more engaging.

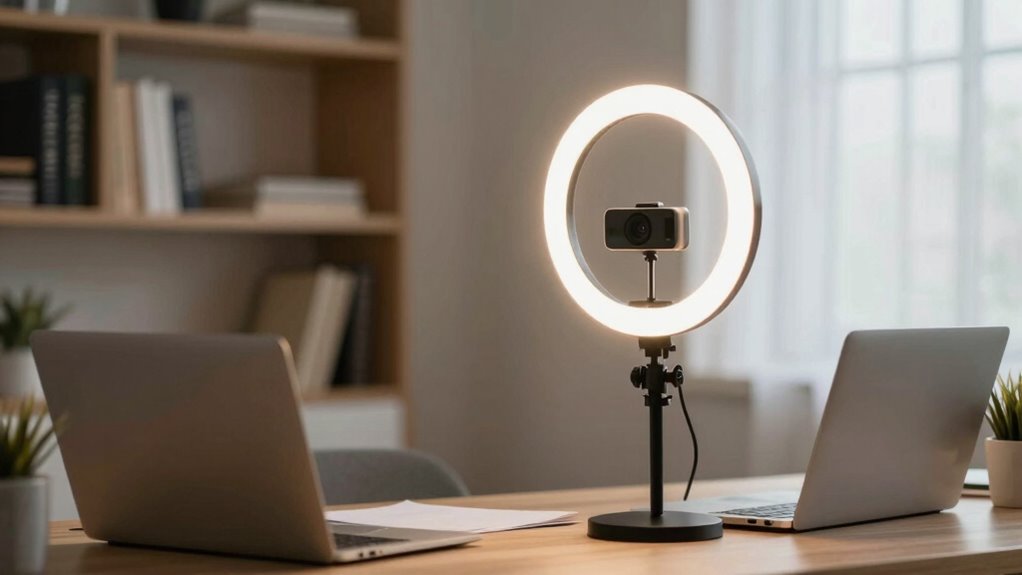
LED Floor Lamp for Living Room, Bright Reading Lamps for Office, Adjustable Colors Temperatures&Brightness, Dual Head Goose-Neck Standing Lamp, Remote and Button Control, Eye Caring Tall Lamp, Black
Super Bright Dual-Head Design & Eye Caring: Our LED floor lamp features an adjustable dual-head design that rotates…
As an affiliate, we earn on qualifying purchases.
As an affiliate, we earn on qualifying purchases.
Step-by-Step: Setting Up Your Webcam Lighting at Home

Setting up your webcam lighting at home can be straightforward if you follow a few key steps. First, decide on your lighting placement: position your main light slightly above eye level and at a 45-degree angle to create natural shadows. Use a soft, diffused light source to avoid harsh shadows and ensure even coverage. Next, consider the color temperature of your lights—aim for a warm white (around 3,000-4,000K) for a cozy, professional look, or cooler tones (around 5,000-6,000K) for a more vibrant, energetic feel. Adjust the lights until your face is evenly lit, with no distracting shadows or overexposed spots. Keep the background in mind, making sure your lighting enhances your overall appearance and creates a polished, professional look for your webcam setup. Proper lighting can also boost your confidence during video calls and presentations, making your setup appear more professional and polished.
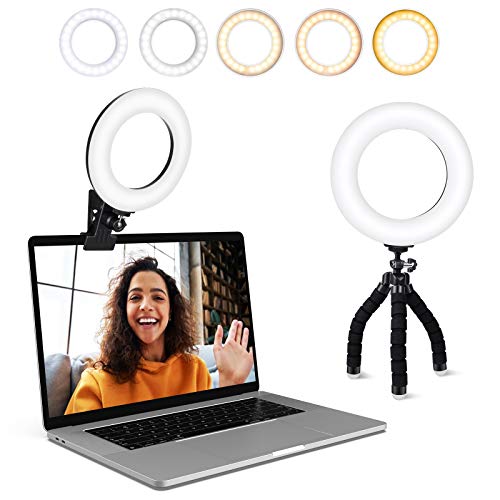
Video Conference Lighting Kit, Ring Light Clip on Laptop Monitor with 5 Dimmable Color & 5 Brightness Level for Webcam Lighting/Zoom Lighting/Remote Working/Self Broadcasting and Live Streaming, etc.
Adjustable Color Temperature & Brightness: ACMEZING video conference light has 5 color temperature: Warm warm, Warm white, Natural…
As an affiliate, we earn on qualifying purchases.
As an affiliate, we earn on qualifying purchases.
Common Mistakes to Avoid for a Professional-Quality Look
Avoiding common lighting mistakes is essential to achieving a professional-quality webcam appearance. One mistake is ignoring proper lighting angles, which can cause harsh shadows or unflattering glare. Adjust your lights to avoid direct, flat illumination. Proper lighting angles help create a more dimensional and flattering look. Using adequate lighting is crucial to prevent underexposure or overexposure, which can distort your appearance. Another error is mismatched color temperature; mixing warm and cool lights makes your setup look unprofessional. Always aim for consistent, neutral tones. Additionally, understanding lighting principles can help you create a balanced and polished look. For example, positioning lights correctly can also help minimize glare from screens or reflective surfaces. You can also experiment with diffusers to soften harsh light and enhance overall image quality. Here’s a quick guide:
| Mistake | Solution | Result |
|---|---|---|
| Poor lighting angles | Position lights at eye level, avoid overhead or side | Soft, even lighting |
| Incorrect color temperature | Use lights with similar, neutral tones | Natural look |
| Flat lighting | Add fill lights to reduce shadows | Dimension and depth |
Avoid these pitfalls to ensure your lighting enhances your professional image.
Affordable Lighting Tips to Enhance Your Office Glow
To give your office space a professional glow without breaking the bank, you can leverage simple, affordable lighting solutions. First, pay attention to color temperature; choosing bulbs with a temperature around 3500K to 4500K creates a natural, flattering look on camera. Avoid overly warm or cool tones that distort your appearance. Additionally, use light diffusion to soften harsh shadows and reduce glare. You can achieve this by placing an inexpensive diffuser or even a white cloth in front of your light source. Positioning your light at a 45-degree angle helps distribute light evenly across your face. Incorporating lighting techniques can also optimize your setup for a more polished look, enhancing the overall video quality. Proper lighting placement ensures balanced illumination and minimizes unflattering shadows. Understanding performance enhancements can help you fine-tune your lighting setup for different environments, ensuring consistent results. Experimenting with different lighting adjustments allows you to tailor your setup for the best possible appearance in varying conditions. Combining these tips ensures your lighting looks polished and professional without the need for costly equipment.
Frequently Asked Questions
How Does Webcam Lighting Impact Video Conferencing Battery Life?
Webcam lighting can increase your device’s power consumption, leading to faster battery drain during video calls. When you use additional or brighter lights, your webcam and possibly your CPU work harder to process the enhanced visuals, which boosts power consumption. As a result, your battery life shortens. To minimize this, opt for softer, energy-efficient lighting, and keep your device’s power settings optimized for longer battery performance.
Can Webcam Lighting Be Adjusted Remotely During a Live Call?
Sure, you can adjust your webcam lighting remotely during a live call—if you have the right tools. With remote lighting control and wireless lighting adjustment, you can fine-tune your setup without interrupting your flow. It’s almost like magic, or maybe just smart tech. Just guarantee your lights support these features beforehand, so you don’t find yourself fumbling with manual switches mid-conference.
What Are the Best Color Temperatures for Different Skin Tones?
The best color temperature for different skin tones depends on skin tone compatibility. For warmer skin tones, choose a warmer color temperature around 3000K to 4500K, which enhances natural warmth. Cooler skin tones benefit from a neutral or cooler light, roughly 5000K to 6500K, to prevent dullness. Adjust your webcam lighting to match these ranges for a natural, flattering look, ensuring your skin tone appears vibrant and true to life.
How Does Lighting Influence Camera Autofocus and Image Clarity?
Lighting directly impacts your camera’s autofocus and image clarity by affecting the camera sensor sensitivity. When you use proper light diffusion techniques, such as softboxes or diffusers, you reduce harsh shadows and create even illumination. This helps your camera focus more accurately and captures sharper, clearer images. Consistent, well-diffused lighting guarantees your face is well-lit, making your video look professional and ensuring your camera can autofocus effectively.
Are There Specific Lighting Setups for Different Office Room Sizes?
Think of your office like a stage, where lighting plays a starring role. For small rooms, keep your desk close to natural light sources to create a bright, balanced scene. In larger spaces, position lights strategically around your desk, ensuring even illumination without harsh shadows. Adjust your desk placement and natural light integration to suit your room size, so your camera captures your best look every time.
Conclusion
By mastering your lighting, balancing your brightness, and avoiding common pitfalls, you create a professional, polished look. Embrace the glow that highlights your face, enhances your presence, and elevates your meetings. Focus on consistency, experiment with angles, and keep your setup simple. With these tips, you’ll confidently shine in every call—because a well-lit face isn’t just about looks, it’s about making your message clear and your presence unforgettable.