
To paint your cabinets, start by gathering supplies like painter’s tape, primer, and paint. Remove doors and hardware, labeling them for easy reassembly. Clean surfaces thoroughly, then lightly sand for better primer adhesion. Apply primer, followed by thin coats of paint, using a brush for edges and a roller for flat areas. After the final coat cures, reinstall hardware and doors. This DIY project can really transform your space, and there’s more to discover about perfecting your finish.
Key Takeaways
- Gather all necessary supplies including painter’s tape, primer, paint, brushes, and a roller for an efficient painting process.
- Remove cabinet doors and hardware, labeling them for easy reassembly after painting.
- Clean surfaces thoroughly to remove grease and grime before sanding for better primer adhesion.
- Apply primer and paint using a brush for edges and a roller for flat areas, allowing each coat to dry fully.
- Reinstall hardware and cabinet doors, then evaluate the finished look for a refreshed appearance.
Have you ever considered how a simple coat of paint can transform your cabinets? It’s amazing what a little color can do to refresh your space without breaking the bank. If you’re thinking about diving into this DIY project, you’ll want to follow a few essential steps to guarantee a smooth process and stunning results.
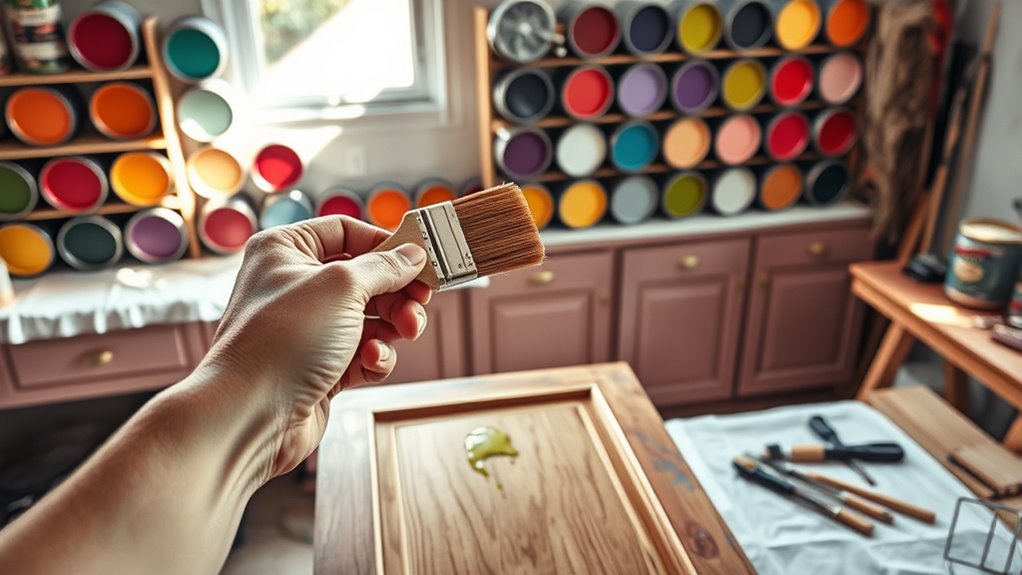
First things first, gather your supplies. You’ll need painter’s tape, a high-quality primer, paint (preferably a semi-gloss or satin finish for durability), a paintbrush, a roller, and a few clean rags. Make sure you choose a color that complements your room; it’s your chance to express your style. Once you have everything ready, you can start prepping your cabinets.
Gather your supplies: painter’s tape, primer, paint, brushes, and a color that expresses your style for a cabinet transformation.
Before you paint, remove all the cabinet doors and hardware. This may seem like a hassle, but trust me, it’ll make painting much easier. Label each door and its corresponding hardware to avoid confusion during reassembly. Next, clean the surfaces thoroughly to remove grease and grime. A mixture of soap and water works well, but you might consider using a degreaser for tougher spots.
Once everything’s clean, it’s time to sand. Lightly sand the surfaces to help the primer adhere better. Use a fine-grit sandpaper, and don’t forget to wipe away any dust with a damp cloth afterward. Now you’re ready to apply primer. This step is vital, especially if you’re painting over a dark color or a glossy finish. Use a brush for corners and detailed areas, and a roller for flat surfaces. Allow the primer to dry completely before moving on.
With your cabinets primed, it’s finally time to paint. Start with the edges and corners using your brush, then use a roller for the flat areas. Apply thin, even coats, and remember that it’s better to do two or three light coats than one thick one. Allow each coat to dry fully before applying the next. Once you’re satisfied with the color depth, let the final coat cure for a day or two.
After everything’s dry, reinstall the hardware and attach the cabinet doors back to their frames. Step back and admire your handiwork! You’ve not only given your cabinets a fresh look, but you’ve also added a personal touch to your space. Engaging in a new hobby like painting cabinets may take some time and effort, but the transformation is well worth it.
Frequently Asked Questions
How Long Does It Take for Painted Cabinets to Dry Completely?
It typically takes about 24 to 48 hours for painted cabinets to dry completely, depending on factors like humidity and temperature. You should allow the paint to cure for a few days before using the cabinets to ensure durability. Keep in mind that even if the surface feels dry, the paint might still be soft underneath. So, it’s best to exercise patience and let them fully dry to avoid any damage.
Can I Paint Over Laminate Cabinets?
Yes, you can paint over laminate cabinets! Start by cleaning them thoroughly and sanding the surface to help the paint adhere better. Use a primer specifically designed for laminate surfaces, then choose a high-quality paint. Apply multiple thin coats for a smooth finish, allowing each coat to dry properly. Don’t forget to seal your cabinets afterward to guarantee durability. With the right prep, you’ll achieve a beautiful, long-lasting result!
What Type of Paint Finish Is Best for Cabinets?
The best paint finish for cabinets is usually a semi-gloss or satin finish. These finishes offer durability and are easy to clean, making them ideal for high-traffic areas. Semi-gloss provides a slight sheen that enhances colors, while satin offers a softer look. You’ll want to avoid flat finishes, as they can be harder to maintain. Test a small area first to see which finish complements your cabinets and overall decor best.
How Do I Clean Painted Cabinets Without Damaging Them?
To clean painted cabinets without damaging them, start by mixing a few drops of mild dish soap with warm water. Use a soft cloth or sponge, dampen it in the solution, and gently wipe the surfaces. Avoid abrasive cleaners or scrubbers, as they can scratch the paint. Rinse the cloth with clean water and wipe away any soap residue. Finally, dry the cabinets with a soft towel to prevent water spots.
Should I Use a Primer Before Painting Cabinets?
Yes, you should use a primer before painting cabinets. Think of it as laying a strong foundation for a house; without it, your paint won’t adhere properly and might chip easily. A good primer seals the surface and improves paint coverage, making your cabinets look smooth and professional. While skipping primer might save time now, it could lead to more work later when your paint doesn’t last. So, don’t skip this essential step!
Conclusion
Now that you’ve transformed your cabinets, take a moment to step back and admire your handiwork, much like Michelangelo gazing at the Sistine Chapel. You’ve breathed new life into your space, and it’s a tribute to your creativity and effort. Remember, every brushstroke tells a story—your story. With a little patience and a splash of color, you’ve turned the ordinary into the extraordinary. So go ahead, revel in your masterpiece and enjoy the fresh vibe!