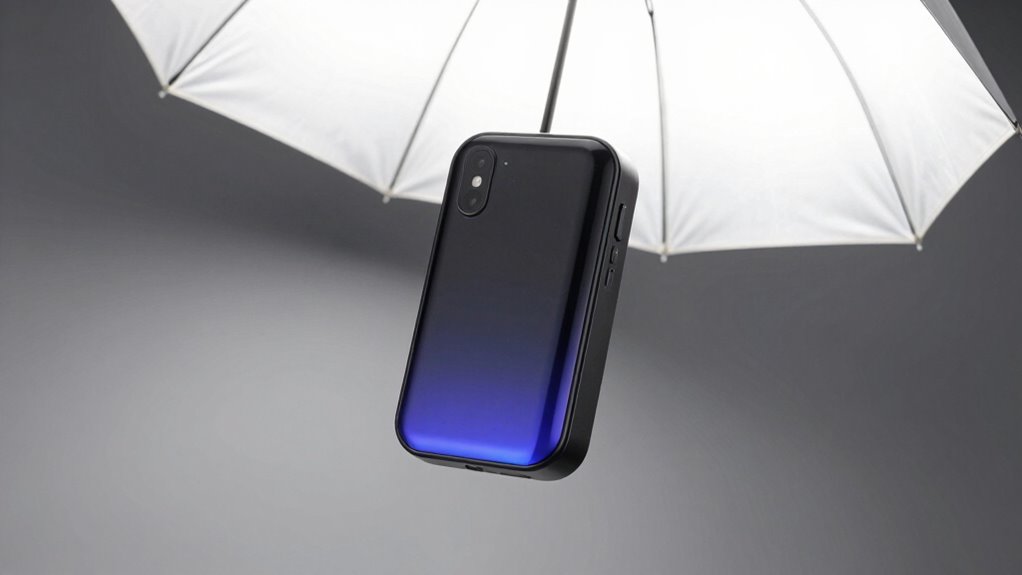
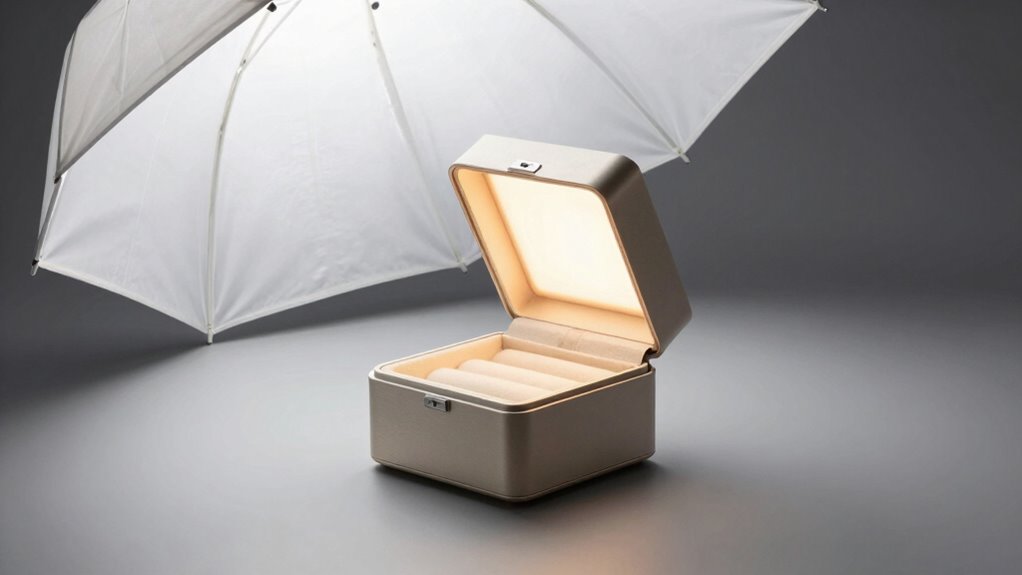
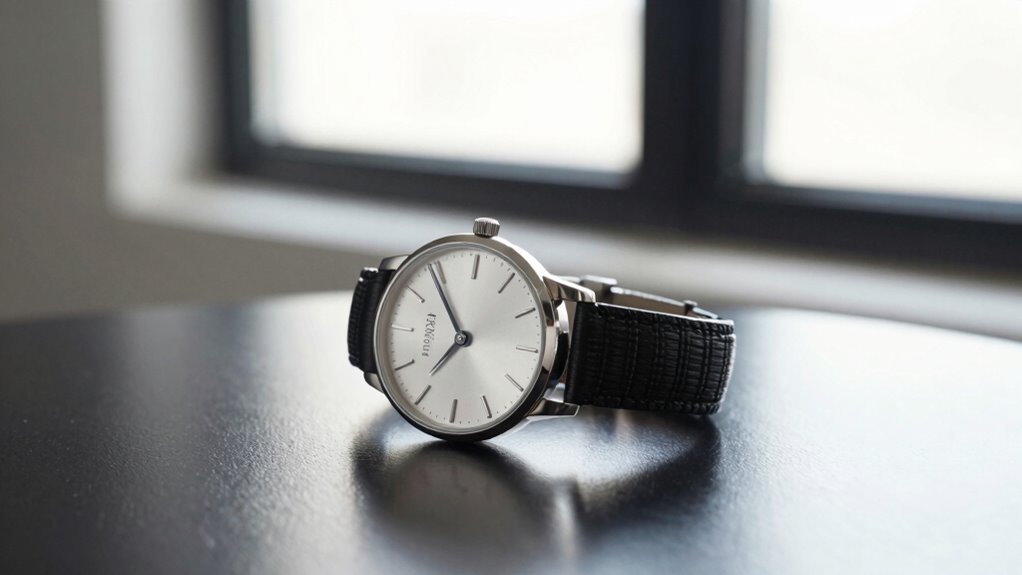
To create product photos that sell, focus on a versatile lighting setup that highlights details, colors, and textures. Use adjustable lights with softboxes or diffusers to produce soft, flattering illumination and control shadows. Position your lights carefully—main light slightly above and to the side, with reflectors or fill lights to soften shadows. Mastering light quality, placement, and contrast can transform your images; keep exploring to discover even more tips for eye-catching product shots.
Key Takeaways
- Use soft, diffused lighting with softboxes to create gentle shadows and highlight product details effectively.
- Position main lights slightly above and to the side for natural, flattering illumination.
- Incorporate reflectors or fill lights to reduce harsh shadows and ensure even lighting across the product.
- Match the color temperature of your lights to the product’s tone for accurate and appealing colors.
- Maintain consistent lighting conditions and proper calibration to produce professional, trustworthy images that drive sales.
Why Lighting Is Key to Stunning Product Photos
Great lighting can make or break your product photos, highlighting details and creating an appealing image that attracts buyers. Proper lighting guarantees accurate product color, so potential customers see what they’ll receive without surprises. When you control ambient light, you prevent unwanted shadows and color shifts that can distort your product’s appearance. Consistent lighting conditions help maintain color accuracy across shots, making your images look professional and trustworthy. Without good lighting, even the best product can appear dull or misleading. By paying attention to ambient light control, you can highlight your product’s best features and ensure that colors stay true to life. Lighting setup plays a crucial role in capturing the true essence of your product. Ultimately, quality lighting influences how viewers perceive your product, directly impacting sales. In addition, understanding household safety can help create a secure environment that supports your photography workspace and overall well-being. Incorporating water safety awareness ensures your workspace remains secure, especially when working around water or moisture-sensitive equipment.
How to Choose the Right Lighting Equipment for Product Photography
Choosing the right lighting equipment is key to capturing product photos that truly stand out. Focus on selecting lights with adjustable color temperature to match your product’s tone and mood. Consider light modifiers like softboxes, reflectors, or diffusers to control light quality and reduce harsh shadows. These tools help you achieve professional-looking images that highlight your product’s best features. When choosing equipment, ask yourself: Will this light allow me to fine-tune the color temperature? Does it support the use of light modifiers? Will it provide consistent, flicker-free illumination? Additionally, understanding lighting consistency can help you maintain a uniform look across multiple shots, which is crucial for branding. Proper lighting setup also involves understanding color rendering index (CRI) to ensure your product colors appear natural and vibrant in photos. Achieving optimal illumination often requires balancing multiple factors such as light placement and intensity, which can be simplified with adjustable lighting options. Incorporating light placement strategies can further enhance the overall quality of your product images. Balancing these factors ensures your setup delivers crisp, vibrant photos. Proper lighting equipment empowers you to create compelling visuals that attract buyers and boost sales. Additionally, understanding home lighting tips can help you optimize your product photography environment for better results.
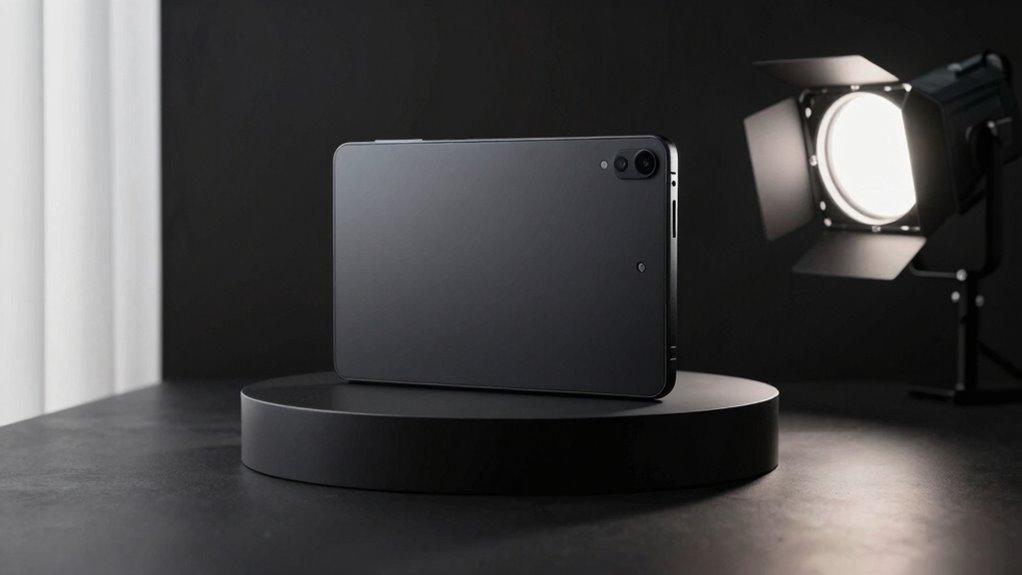
Setting Up a DIY Lighting Studio at Home

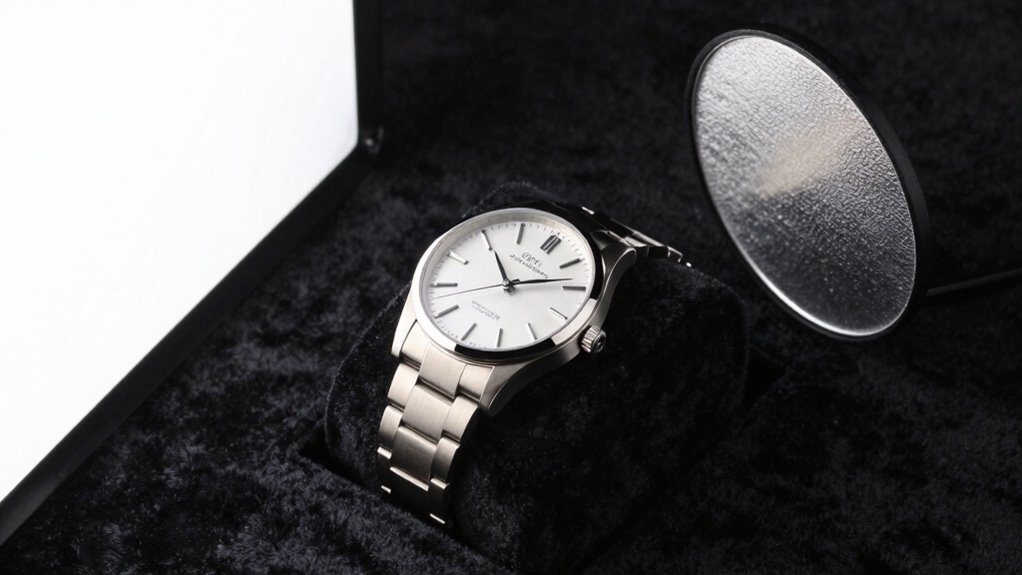
Setting up a DIY lighting studio at home is an achievable way to produce professional-quality product photos without expensive equipment. Start with a clean, clutter-free space and choose a background that complements your product. Consider options like solid colors or textured paper for variety. Proper product styling helps highlight features and creates visual interest. Use a table like this to plan your setup:
| Light Source | Positioning | Purpose |
|---|---|---|
| Softbox | Front-left | Even, diffused light |
| Reflector | Fill from right | Minimize shadows |
| Background | Behind product | Context and contrast |
Adjust your background selection based on your product’s color and style. Keep your lights consistent to ensure even illumination and showcase your product’s best features. Paying attention to lighting techniques can significantly enhance the overall quality of your photos. Additionally, understanding the contrast ratio of your lighting setup can help you achieve richer, more dynamic images. Employing creative lighting methods can also add depth and mood to your product photography, making your images stand out. Exploring lighting ratios allows you to control shadows and highlights effectively, further elevating your photos. Incorporating proper calibration of your lighting setup can ensure consistent results across multiple shoots, saving time and effort.
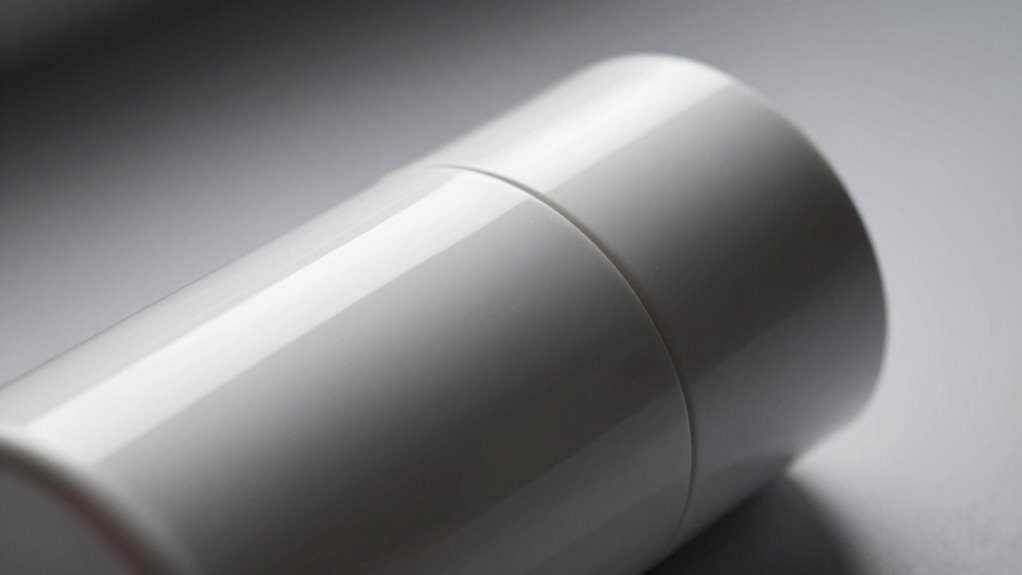
Soft vs. Hard Light: When and How to Use Each
Soft and hard light each create different moods and levels of depth in your product photos. Soft light smooths shadows and highlights, making images feel inviting, while hard light emphasizes textures and adds contrast. Knowing when to use each helps you control shadows and highlights to showcase your products effectively. Additionally, selecting appropriate lighting equipment is essential for achieving the desired visual effect. Properly matched lighting techniques can also enhance the overall professionalism and appeal of your photos.
Creating Mood and Depth
Understanding when to use soft or hard light can dramatically influence the mood and perceived depth of your product photos. Soft light creates a gentle, inviting atmosphere, highlighting subtle details, while hard light adds sharpness and contrast, emphasizing texture and shape. To create mood and depth, consider how your lighting interacts with your background selection and color contrast. Additionally, controlling the lighting intensity and direction of your light sources can further refine the desired visual effect. Lighting control techniques are essential for achieving professional-looking product images. Incorporating knowledge of rendering lard and other traditional methods can inspire creative lighting approaches that enhance texture and richness in your photos.
Controlling Shadows and Highlights
Choosing the right type of lighting is essential for controlling shadows and highlights in your product photos. Soft, diffuse lighting minimizes harsh shadows and creates even highlights, making textures and details pop. Use diffusers or bounce light to achieve this effect, especially for products with intricate surfaces. Hard light, on the other hand, produces sharp shadows and bright highlights, adding drama or emphasizing shape. Apply hard light selectively to create contrast or highlight specific features. Pay attention to color temperature; warmer tones can soften shadows, while cooler tones increase contrast. Adjusting the distance and angle of your light sources helps you balance highlights and shadows, ensuring your product looks appealing and true to life. Understanding lighting ratios can further help you control the balance between shadows and highlights, elevating your product photography’s impact. Mastering soft versus hard light elevates your product photography’s impact.
Position Your Lights for Flattering, Eye-Catching Shots
- Position your main light slightly above and to the side for natural, eye-catching illumination. Incorporate essential DIY tools to help adjust your lighting setup precisely. Using regional flavor insights can inspire you to create a more appealing and authentic product presentation. Be mindful of cabling solutions to ensure your setup remains clean and professional-looking.
- Use a fill light or reflector to reduce shadows and add depth. Experiment with different color temperatures to find the most appealing tone for your product.
- Incorporate protective accessories like covers or guards to highlight your vehicle’s durability and enhance the overall presentation. Consider the lighting environment to ensure your product stands out and looks inviting in various settings.
Controlling Shadows and Highlights for Better Product Images
Controlling shadows and highlights is key to showcasing your product’s details and ensuring a polished look. Use diffused light to soften harsh shadows and create even illumination. This helps reveal textures and colors accurately, making your product more appealing. Adjust your light’s position to minimize unwanted shadows or highlights that distract from the main features. Pay attention to color temperature, ensuring it matches the product’s true colors. A consistent, neutral temperature prevents unnatural hues that can distort your product’s appearance. If necessary, use reflectors or fill lights to balance shadows without losing depth. By carefully managing diffused light and color temperature, you’ll achieve well-balanced images that highlight your product’s best features and look professional.
Common Lighting Mistakes That Hurt Your Product Photos

Poor lighting can ruin your product photos, making them look unprofessional and unappealing. Harsh shadows and glare distract viewers, while uneven lighting leaves your images feeling inconsistent. Overexposed or underexposed shots can hide details, preventing your products from standing out.
Harsh Shadows and Glare
Harsh shadows and glare are common lighting mistakes that can substantially detract from your product photos. They create unflattering contrasts and obscure important details, making your product look less appealing. To avoid this, focus on glare reduction techniques and soften the lighting.
Consider these tips:
- Use diffusers or softboxes to diffuse light sources, reducing harsh shadows.
- Adjust the angle of your lights to prevent direct glare on reflective surfaces.
- Incorporate fill lights or reflectors to balance shadows and evenly illuminate your product.
Uneven Lighting Distribution
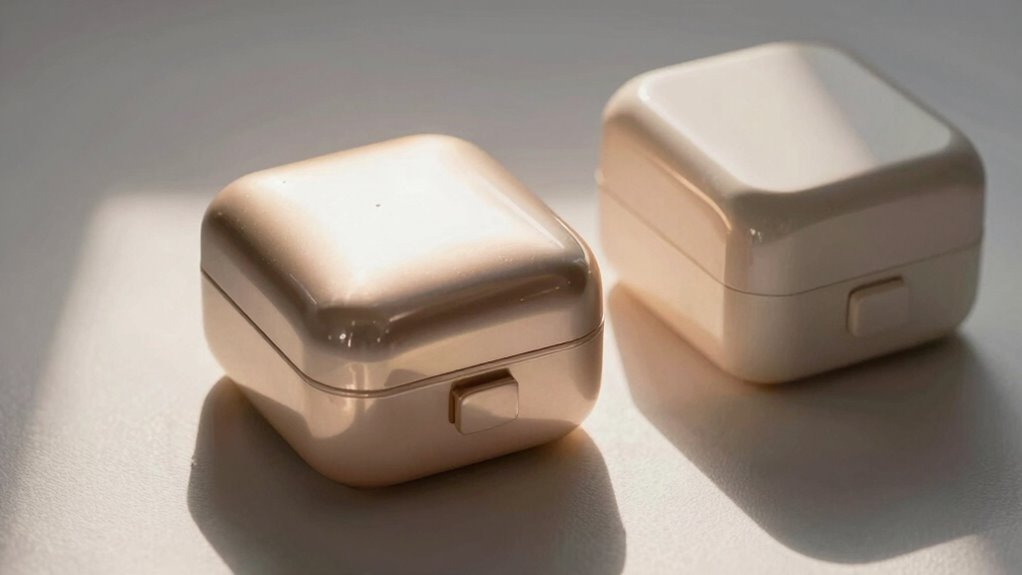
Uneven lighting distribution occurs when some areas of your product are overly bright while others remain too dark, which can distract viewers and hide important details. To avoid this, use diffuse lighting, which spreads light evenly across the product, minimizing harsh shadows and hotspots. Adjust the color temperature to ensure consistent tones, preventing color shifts that can make certain areas appear off or unnatural. Proper diffusion helps balance light, creating a cohesive look that highlights your product’s features without distraction. Keep an eye on how light falls across different angles, making sure no section is overly exposed or too dim. Achieving even lighting distribution enhances the clarity and appeal of your photos, making your products look professional and inviting to potential buyers.
Overexposed or Underexposed Shots
Overexposed or underexposed shots can considerably diminish the quality of your product photos, making details difficult to see and reducing their appeal. When your images are too bright or too dark, it hampers product color accuracy and natural skin tones, which are essential for convincing customers. Overexposure washes out colors, losing vibrancy, while underexposure hides details in shadows. To avoid these issues:
- Use proper exposure settings on your camera or editing software to balance light.
- Check your histograms to ensure bright and dark areas are within acceptable ranges.
- Adjust lighting angles or intensity to prevent glare or deep shadows that distort natural tones.
Enhance Your Photos: Editing Tips to Maximize Impact
To make your product photos truly stand out, effective editing is essential. Start by refining product placement to ensure your item is the focal point, avoiding distractions in the background. Use color correction to enhance the true colors of your product, making it look appealing and realistic. Adjust brightness, contrast, and saturation to create a balanced, vibrant image that grabs attention. Remove any blemishes or imperfections that could detract from your product’s appeal. Consider sharpening the image slightly to add clarity, but don’t overdo it. Consistent editing across all photos builds a cohesive look that reinforces your brand. With these editing tips, your images will look professional and compelling, increasing the chances of turning viewers into buyers.
Frequently Asked Questions
What Color Temperature Is Best for Product Photography Lighting?
You should aim for a color temperature around 5000K to 5500K for product photography, as it provides a neutral, daylight-like tone. This range helps showcase your products accurately, with true colors and consistent lighting mood. Using this temperature guarantees your images appear natural and professional, making your products more appealing and trustworthy to viewers. Adjust slightly based on your product’s vibe, but stay within this neutral daylight spectrum for best results.
How Do I Prevent Glare on Shiny Products?
To prevent glare on shiny products, you should use polarized filters on your camera to reduce reflections and glare. Position your lights at angles that minimize direct reflection, and opt for matte backgrounds to absorb excess light and prevent unwanted shine. Adjusting your lighting setup and using polarized filters creates even, glare-free images that highlight your product’s details without distracting reflections.
Can Natural Light Substitute Studio Lighting Effectively?
Imagine sunlight pouring through a window, softly illuminating your product like gentle studio lighting, creating warm, natural shadows. Yes, natural light can effectively substitute studio lighting if you harness it wisely—shoot during overcast days or near large windows with diffused sunlight. While it may not offer the same control, you can still achieve stunning, authentic images that highlight your product’s true colors and details.
What Accessories Can Improve My Lighting Setup?
You can improve your lighting setup with diffuser options and sturdy light stands. Diffusers soften harsh light, creating a more professional look, while light stands give you stability and flexibility to position your lights perfectly. Consider adding portable diffusers or adjustable stands to enhance your control over lighting conditions. These accessories help you achieve consistent, high-quality product photos that truly stand out and sell.
How Often Should I Replace Lighting Equipment?
You should replace your lighting equipment when you notice signs of reduced lighting durability, such as dimming or flickering. Regular equipment maintenance helps extend its lifespan, but over time, even well-maintained gear can become unreliable. Generally, plan to update your lighting setup every 2-3 years, depending on usage and wear. Staying vigilant guarantees your product photos stay crisp and professional, keeping your sales strong.
Conclusion
Mastering your lighting means making magic with your merchandise. By balancing brightness, banishing blunders, and blending soft and hard light, you’ll boost your brand’s brilliance. Remember, the right setup and savvy shadows shape stunning shots that sell. So, experiment enthusiastically, edit expertly, and elevate every image. With consistent care and creative control, your product photos will captivate customers and craft a compelling, clickable collection that converts viewers into buyers.