
To simplify heat press settings, focus on adjusting time, temperature, and pressure based on your material. Use lower temps and shorter times for vinyl, and higher temps for cotton. Maintain firm, even pressure to guarantee a smooth transfer. Testing on scrap pieces helps dial in the right settings for each project. Once you understand these basics, you’ll achieve consistent, professional results—stay with us to explore how to optimize every press.
Key Takeaways
- Match temperature, time, and pressure to the specific material and manufacturer guidelines for optimal results.
- Use lower temperatures and shorter times for vinyl; higher temps and longer durations for cotton or sublimation.
- Apply consistent, firm pressure across the entire transfer area to prevent distortion and ensure even adhesion.
- Test settings on scrap materials before final application to avoid damage and achieve the best quality transfer.
- Regularly calibrate your heat press and check for dirt or damage to maintain precise, reliable settings.
HTVRONT Auto Heat Press Machine for T Shirts – 15×15 Smart T Shirt Press Machine with Auto Release – Professional Heat Press for Sublimation, Vinyl, Heat Transfer Projects
【Auto Heat Press & Free Hands】- HTVRONT auto heat press machine aims to take away the struggles of…
As an affiliate, we earn on qualifying purchases.
As an affiliate, we earn on qualifying purchases.
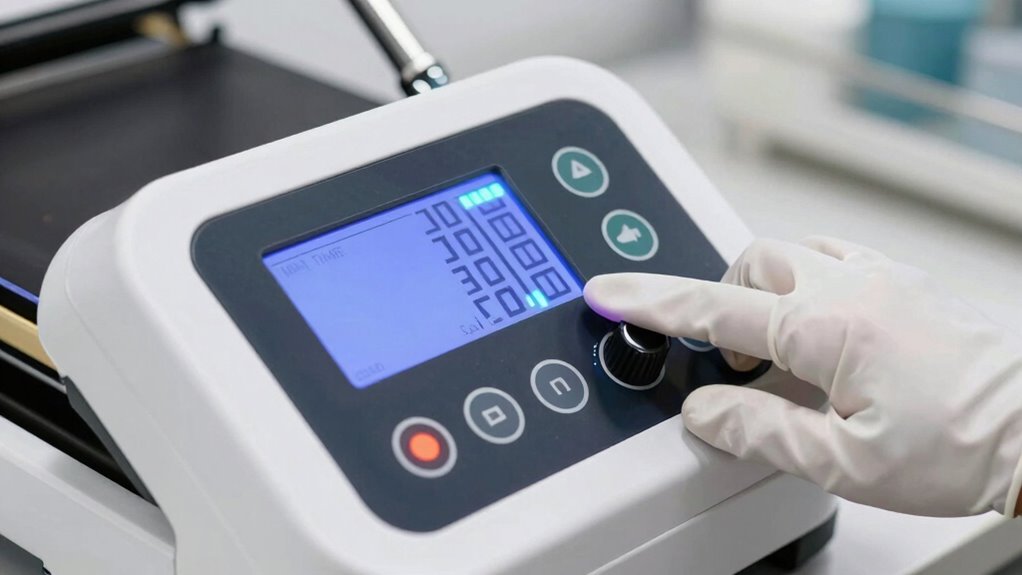
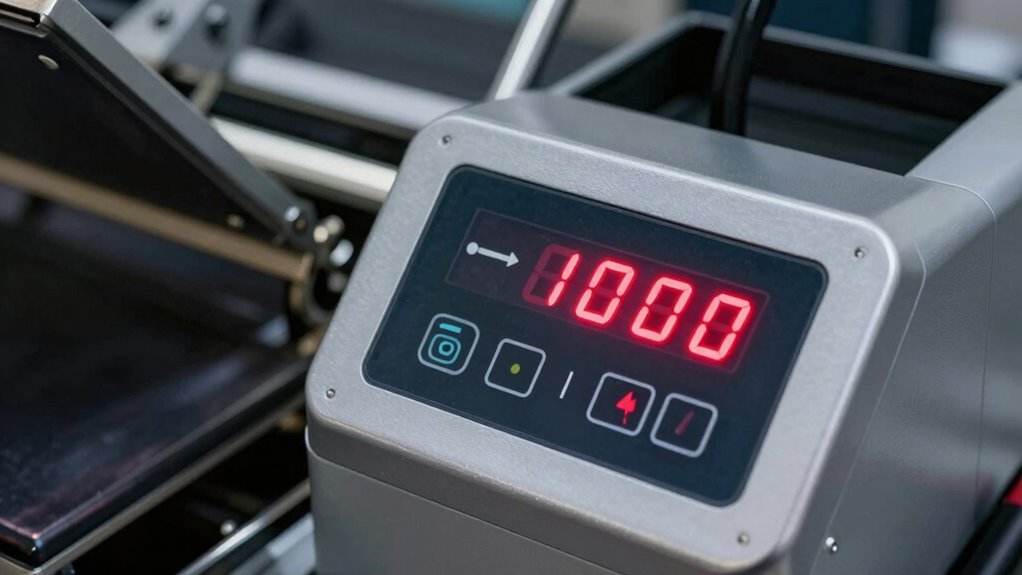
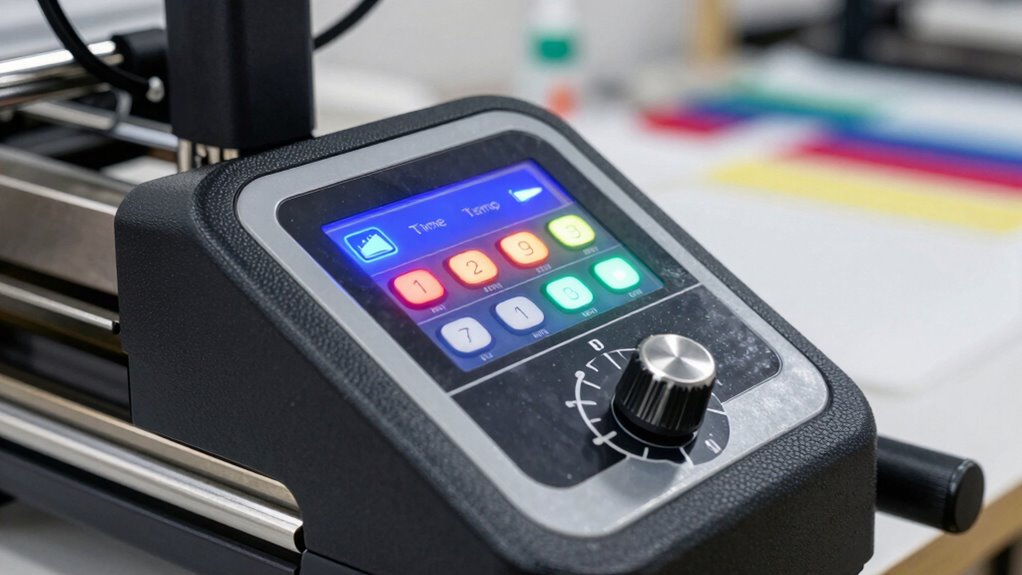
What You Need to Know About Heat Press Settings Before You Start

Before you begin pressing, understanding the key heat press settings that influence your results is vital. First, consider heat settings—you need the right temperature for your material, whether it’s vinyl, fabric, or sublimation paper. Different materials require specific heat levels to prevent damage and ensure proper adhesion. Checking material compatibility is essential; not all fabrics or transfers respond well to the same heat settings. Too high, and you risk scorching or warping; too low, and your design might not transfer properly. Always refer to manufacturer guidelines for your specific materials. Proper environmental impact awareness can also help in selecting eco-friendly materials and techniques for your projects. Adjusting heat settings appropriately helps you achieve crisp, durable results and avoids wasting time redoing projects. Mastering these basics sets a strong foundation for successful pressing. Additionally, understanding digital concepts involved in heat pressing can help optimize your workflow and troubleshoot issues more effectively.

Heat Press Machine Control Box, Digital Timer Temperature Controller for T Shirt Mug Cap, 1400W 110V Replace Unit with LED Display, K Type Heating Couple, 33.8-392°F 0-999S, 5.51×5.31×6.5in
High-class Material: Made from premium iron and plastic, and treated with injection molding and welding processes, it offers…
As an affiliate, we earn on qualifying purchases.
As an affiliate, we earn on qualifying purchases.
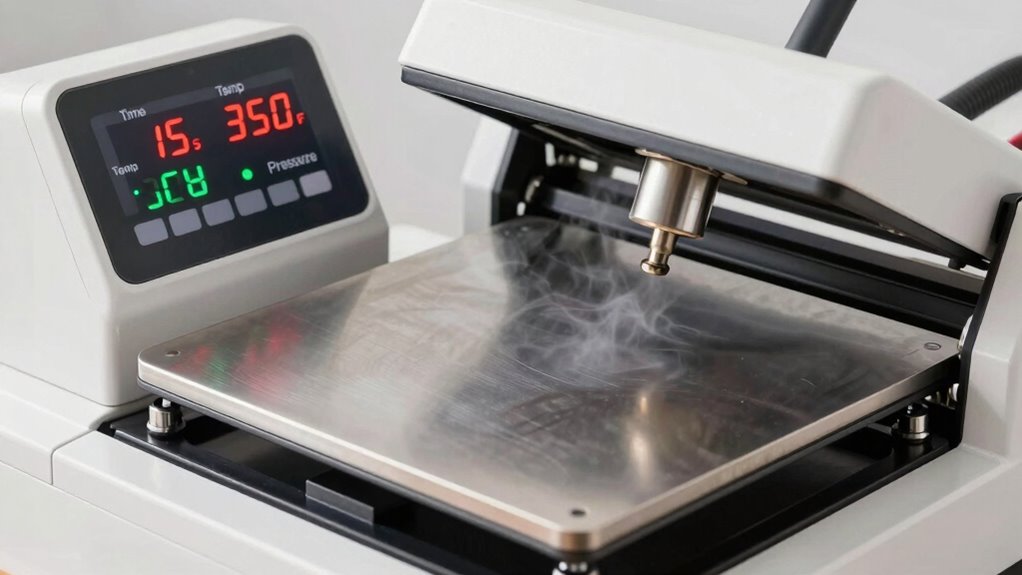
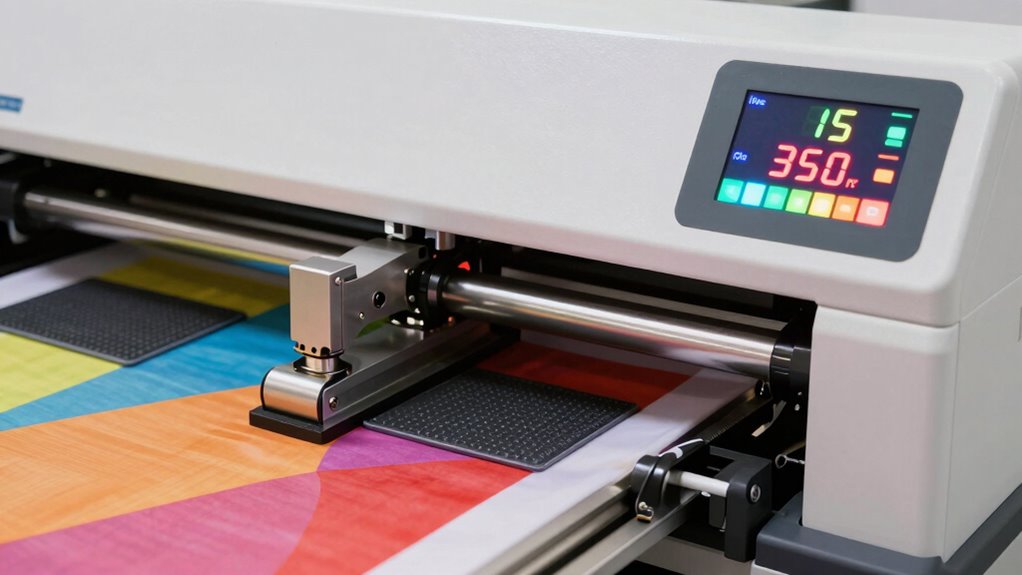
How Temperature Impacts Your Design and Materials
Temperature plays a crucial role in guaranteeing your design adheres properly and looks professional. If you set the heat too high, you risk color fading or even melting the material, ruining your project. Conversely, too low a temperature may result in poor adhesion and a weak transfer. Here are three key impacts of temperature:
Proper temperature ensures vibrant, durable designs without damage or poor adhesion.
- Proper heat prevents color fading, keeping your design vibrant for longer.
- Excessive heat can cause material melting, damaging both the substrate and your design.
- Correct temperature ensures the adhesive activates fully, leading to a durable finish.
- Understanding the microplastics in dust and how they relate to indoor environments can help optimize heat settings for consistent results. Additionally, selecting the right professional hair color brands can ensure your materials are compatible with heat transfer processes.

3 Pack PTFE Teflon Sheet for Heat Press Transfer Sheet Non Stick 16 x 20" Heat Transfer Paper Reusable Heat Resistant Craft Mat
Waterproof & Washable – Our 3 pack PTFE Sheet for Heat Press Reusable is easily wipe off messy…
As an affiliate, we earn on qualifying purchases.
As an affiliate, we earn on qualifying purchases.
What Is the Best Transfer Time for Different Projects?
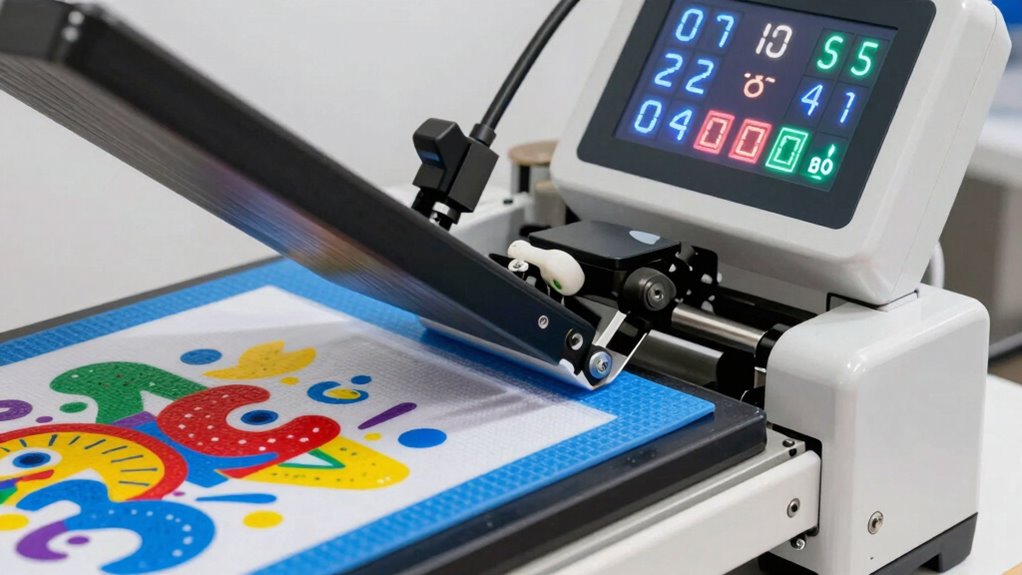
Choosing the right transfer time is essential to make certain your design bonds properly without damaging your materials. The transfer duration varies depending on the project type, fabric, and transfer type, so it’s vital to follow manufacturer recommendations. For most fabrics, a typical transfer time ranges from 10 to 20 seconds, but delicate materials may require shorter times. Consistency in timing is key—using a timer ensures each project receives the same heat application, preventing uneven results. Longer transfer times can cause color bleeding or material damage, while shorter ones may lead to incomplete bonding. Always test on scrap materials first. Proper heat application is crucial for achieving durable and professional-looking results every time. By maintaining precise timing, you’ll achieve better adhesion and professional-looking results every time. Additionally, understanding the essential oils that support optimal transfer processes can help in creating a more effective and efficient workflow, especially when working with sensitive or delicate materials.

HTVRONT Heat Press Accessories – 55 Pack Supplies for 15×15 Machine, T-Shirt Heat Press Starter Kit with Vinyl & Sublimation Bundle, Tools & Mat
✨One-Stop Solution for Heat Press: HTVRONT Automatic Heat Press Accessories Kit provides a one-stop solution for all your…
As an affiliate, we earn on qualifying purchases.
As an affiliate, we earn on qualifying purchases.
How to Apply Consistent Pressure for Perfect Results

Applying consistent pressure during heat pressing is crucial to guarantee your design adheres evenly and securely. Pressure consistency ensures the transfer bonds properly without bubbles or uneven spots. To achieve this, focus on your application techniques:
Consistent pressure ensures even, secure transfers and prevents bubbles or uneven spots.
- Use a sturdy, flat surface to evenly distribute pressure.
- Apply firm, even force with your press or a heat press cushion.
- Check and adjust pressure settings regularly to maintain uniformity.
- Be mindful of comedogenic ratings when choosing products to prevent skin issues that could affect your transfer results. Additionally, maintaining proper pressure calibration ensures your heat press functions accurately over time. Regularly inspecting and calibrating your equipment helps maintain consistent pressure, leading to better transfer quality. Ensuring your heat press is properly pressure calibrated is key to maintaining consistent pressure during each use. These steps help you maintain pressure consistency, which is key to perfect results. Consistent pressure prevents uneven transfers, reduces the need for rework, and ensures the durability of your design. Remember, applying even, steady pressure is just as important as temperature and time settings for a flawless transfer every time. Incorporating pressure mapping techniques can further optimize your setup for consistent results.
Balancing Time, Temperature, and Pressure for Optimal Transfers
To get perfect transfers, you need to carefully balance time, temperature, and pressure. Adjusting these settings precisely helps you achieve ideal adhesion without damaging the material. When done correctly, your designs will stick firmly and look professional every time. Incorporating monetization tips can also help turn your passion into profit by creating content that attracts more viewers and potential buyers.
Achieving Perfect Adhesion
Achieving perfect adhesion requires a careful balance of time, temperature, and pressure, as each factor directly influences the transfer’s durability and appearance. Proper adhesion ensures vibrant color matching and crisp design alignment. To get it right:
- Maintain consistent pressure to prevent uneven transfer, which can distort colors or misalign designs.
- Use the ideal temperature to activate adhesives without scorching the material, preserving color integrity.
- Set the correct time to allow sufficient bonding without overexposure that could weaken adhesion.
- Understanding contrast ratio helps determine how well the projector can display detailed images in dark scenes, which is essential for evaluating image quality.
Adjusting Settings Precisely
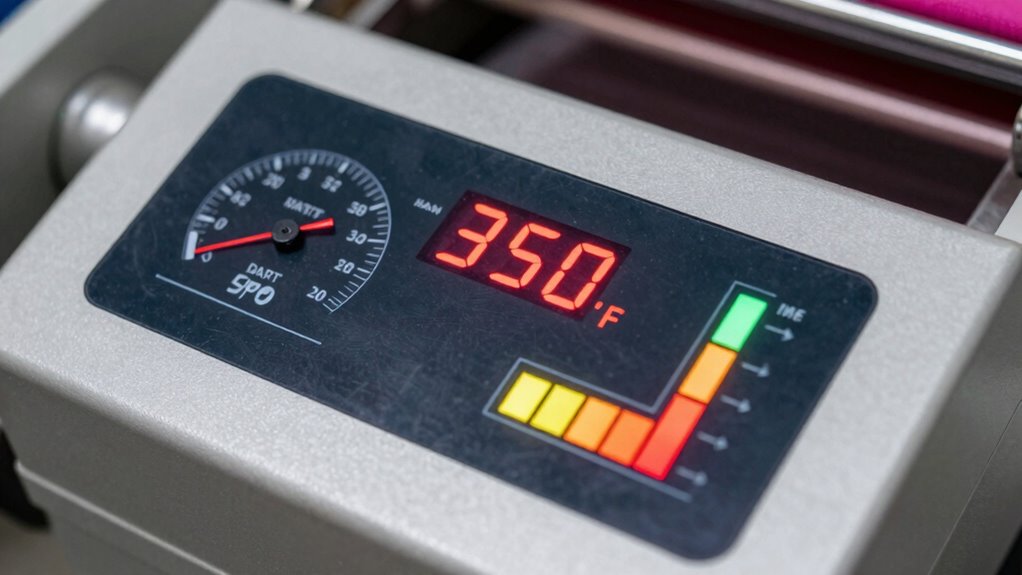
Balancing time, temperature, and pressure is essential for guaranteeing your heat transfer bonds correctly without defects. To achieve this, use calibration techniques to fine-tune your heat press settings. Regularly check pressure gauges to guarantee consistent pressure levels, preventing uneven transfers. Adjust pressure precisely by referencing your gauge, aiming for the recommended PSI for each material. Accurate calibration helps avoid over-pressing or under-pressing, which can cause ghosting or incomplete adhesion. Keep a log of your adjustments to track what works best for different fabrics and transfers. Monitoring equipment accuracy ensures consistent results, reduces errors, and simplifies the process of achieving perfect transfers every time. Proper pressure calibration is crucial for maintaining transfer quality and prolonging the lifespan of your heat press. Implementing calibration methods can further improve your setup. With precise calibration, you’ll master balancing all variables for flawless outcomes.
Troubleshooting Common Heat Press Problems
When your heat press isn’t producing the results you expect, pinpointing the issue can save you time and materials. Start by checking the press machine’s heat calibration; inaccurate heat levels often cause poor transfers or peeling. Next, examine the pressure; uneven or insufficient pressure can lead to incomplete images. Finally, inspect the heat platen for dirt, residue, or damage, which can affect heat transfer. To troubleshoot effectively: 1. Verify the heat calibration by using a temperature gun to ensure your press reaches the set temperature. 2. Adjust pressure settings according to your material’s requirements. 3. Clean the heat platen regularly to prevent transfer issues. Additionally, understanding the importance of consistent heat press settings can help you achieve better results and extend the lifespan of your equipment. Proper maintenance practices are essential for long-term performance and quality. Regularly monitoring nail biology and ensuring your equipment is well-maintained can help prevent common issues and improve overall results. Maintaining proper equipment calibration can also significantly reduce errors and enhance the durability of your heat press. Understanding how temperature stability impacts heat transfer can further improve your results. Addressing these common problems guarantees your heat press functions correctly, producing consistent, high-quality results every time.
Adjusting Heat Press Settings for Different Materials (Vinyl, Cotton, Etc.)

Once you’ve confirmed your heat press is functioning correctly, the next step is to modify its settings to suit different materials like vinyl or cotton. Different materials require specific temperature, time, and pressure for proper adhesion, so understanding material compatibility is key. For vinyl, you typically need lower temperatures and shorter press times to prevent melting or warping. Cotton often requires higher temperatures and longer settings to ensure a durable press. Make setting adjustments based on manufacturer recommendations and test on scrap fabric first. Always pay attention to material characteristics to avoid damage or poor adhesion. Proper setting adjustments ensure your designs come out crisp and long-lasting, regardless of the material you’re working with. Additionally, recognizing material properties can help you optimize your heat press settings for the best results.
Tips to Save Time and Improve Your Heat Press Efficiency
To save time and boost your heat press efficiency, focus on optimizing transfer times and applying consistent pressure. This guarantees better results while reducing trial-and-error adjustments. When you master these points, your workflow becomes smoother and more productive.
Optimize Heat Transfer Time
Optimizing heat transfer time is essential for maximizing your heat press efficiency and saving valuable time. To do this, focus on maintaining consistent pressure and adjusting the transfer duration accordingly. Proper pressure ensures even heat distribution, which reduces the need for re-pressing and saves time.
Here are three tips to improve your process:
- Set the right transfer duration—avoid over-pressing, which wastes time and may damage your design.
- Monitor pressure consistency—use a pressure calibration tool to keep it uniform across all presses.
- Preheat your materials—warming substrates beforehand shortens the necessary transfer time and improves adhesion.
Use Consistent Pressure
Maintaining consistent pressure during each heat press session is essential for efficient and high-quality transfers. When you apply even application pressure, your designs will bond properly, reducing the need for re-pressing or adjustments. Using a reliable pressure gauge or a press with adjustable pressure helps guarantee consistent pressure every time. Avoid pressing too hard or too lightly, as both can compromise the transfer’s durability and appearance. A steady, even application minimizes errors, saves time, and improves overall efficiency. Practice applying uniform pressure across the entire transfer area. Over time, this consistency becomes second nature, resulting in fewer mistakes and better results. Remember, consistent pressure is key to achieving professional-looking, long-lasting heat transfers with less effort.
Final Checklist to Master Your Heat Press Settings
Before you start pressing, verifying your settings is vital to guarantee perfect results. A final checklist helps ensure your heat press is properly calibrated, preventing costly mistakes. Here are three essential steps:
Verifying your settings before pressing ensures perfect results and prevents costly mistakes.
- Check heat press calibration by using a thermometer to confirm the temperature matches your settings. Consistent temperatures ensure transfer quality.
- Review pressure settings, making sure they’re even and appropriate for your material. Transferable skills like feeling the correct pressure can help adjust as needed.
- Confirm time settings, setting a timer to avoid under- or over-pressing. Proper timing secures durable, professional-quality transfers.
Mastering these steps boosts your confidence and builds transferable skills for consistent, flawless results every time you press.
Frequently Asked Questions
How Do I Calibrate My Heat Press for Accurate Settings?
To calibrate your heat press for accurate settings, start with calibration techniques like using a digital thermometer or pyrometer to check your temperature. Adjust your heat press’s setting adjustments based on these readings to verify the actual temperature matches your desired setting. Repeat this process regularly, especially after moving or servicing your machine, to maintain consistent results and avoid errors in heat, time, or pressure.
What Safety Precautions Should I Follow During Heat Pressing?
You should always wear protective gear like gloves and safety glasses to prevent burns or injuries. Make certain proper ventilation in your workspace to avoid inhaling fumes from heat transfer materials. Keep the area clear of flammable objects and never leave the heat press unattended while it’s hot. Regularly check your equipment for safety hazards, and follow manufacturer instructions closely to stay safe during heat pressing.
Can I Reuse Heat Press Settings for Different Projects?
You can’t reuse heat press settings for different projects without considering material compatibility. Different materials require unique temperature, time, and pressure settings to avoid damage. Always adjust your settings accordingly. Also, guarantee proper press maintenance—clean the heat platen regularly—to maintain consistent results. Ignoring these factors may lead to poor adhesion or material damage. So, double-check your settings and keep your equipment in good shape for each new project.
How Do Ambient Temperature and Humidity Affect Heat Transfer Results?
Imagine your workspace as a warm, humid jungle—ambient temperature and humidity impact heat transfer results. Higher humidity can create a moisture barrier, making it harder for heat to penetrate evenly. Conversely, a cooler or drier environment can cause rapid heat loss. To guarantee perfect transfers, monitor ambient temperature and humidity, adjusting your press time and temperature accordingly. This keeps your designs vibrant and durable, no matter the weather outside.
What Are the Signs of Over- or Under-Pressing My Materials?
You’ll notice material damage like scorching or melting if you over-press, and you might see inconsistent adhesion if you under-press. Over-pressing can cause the design to peel or distort, while under-pressing often leaves the transfer incomplete or weak. Pay close attention to these signs, adjust your pressure accordingly, and always check your materials for damage or adhesion issues to get perfect results.
Conclusion
Mastering your heat press settings is like fine-tuning a musical instrument—you’ll notice every detail aligning perfectly. When you tweak time, temp, and pressure just right, your designs come out flawless, almost like a well-orchestrated performance. With practice, you’ll find that each project flows smoothly, turning what once felt complex into second nature. Soon, you’ll be creating professional-quality transfers effortlessly, making every press feel like a lucky coincidence of perfect settings.