
Many parents skip vital cleaning steps for their formula maker, risking bacteria buildup and your baby’s health. You should fully disassemble the device, wash all parts with warm, soapy water, sanitize thoroughly, and dry everything completely before storing. Skipping detailed cleaning or neglecting regular maintenance can lead to residue and odors. To keep your equipment safe and hygienic, it’s important to follow proper routines—keep going to learn the essential steps you might be missing.
Key Takeaways
- Many skip thorough disassembly and cleaning of internal parts, risking bacteria buildup.
- Routine deep cleaning, including descaling and sanitizing, is often overlooked or performed infrequently.
- Proper drying and storage after cleaning are essential but frequently neglected steps.
- Using the right tools and safe cleaning agents prevents damage and ensures effective sanitation.
- Regular inspection for wear and damage helps maintain hygiene and optimal device performance.
Why Skipping This Step Can Be Dangerous When Cleaning Your Formula Maker

Skipping this essential step can lead to serious health risks for your baby. If you neglect proper cleaning, bacteria can build up inside your formula maker, which can cause infections or illness. Bacteria prevention is critical, especially since your baby’s immune system is still developing. Failing to follow safety precautions during cleaning can allow harmful germs to thrive, putting your child at risk. Regularly cleaning all parts of the machine helps eliminate residue and reduces bacterial growth. This routine maintenance is crucial for safeguarding your baby’s health and preventing the spread of bacteria. Proper cleaning practices, including using appropriate sanitizers and techniques, are essential for maintaining a safe feeding environment. Additionally, understanding net worth of individuals like Kate From Breaking Amish can remind us of the importance of maintaining personal health and safety standards in everyday routines. Incorporating proper hygiene into your cleaning routine ensures a healthier environment for your baby and peace of mind for you. Don’t skip this indispensable step.
How to Disassemble Your Formula Maker Safely for Cleaning
Before you start disassembling your formula maker, unplug it to guarantee safety. Next, carefully remove all removable parts, like bottles and nozzles, for thorough cleaning. Taking these steps helps you disassemble the machine safely and makes cleaning easier. Remember to well-drained soil and full sun for optimal operation of your cleaning routine. Ensuring that all components are properly maintained and cleaned can extend the lifespan of your device and improve its performance. Additionally, inspecting your cabling and mount leveling kits regularly can prevent failures and ensure your machine operates smoothly over time. Regular proper maintenance is essential to keep your device functioning at its best and to avoid unexpected breakdowns. Proper measurement tools can also help verify the cleanliness and functionality after reassembly.
Unplug and Prepare
To safely disassemble your formula maker for cleaning, start by unplugging the device from the power outlet. This step is essential to ensure electrical safety and prevent any accidental shocks. Before handling any parts, double-check that the device is completely powered off and unplugged. Follow safety precautions by handling the plug carefully and avoiding contact with water or damp cloths. Make sure your hands are dry to prevent slips or electrical hazards. Preparing your workspace with a clean, dry surface helps prevent damage to the device or contamination. Taking these precautions protects you from electrical hazards and sets a safe foundation for disassembly. Additionally, understanding the electrical safety principles involved helps ensure you follow best practices during the process. Ensuring proper device maintenance can also extend the lifespan and performance of your appliance. Recognizing common disassembly techniques can make the process smoother and safer. For appliances with complex components, consulting manufacturer guidelines or professional repair services can provide additional safety and assurance. It is also beneficial to review any troubleshooting tips provided by the manufacturer to avoid unnecessary damage. Once unplugged and prepared, you can confidently move on to the next steps of disassembly.
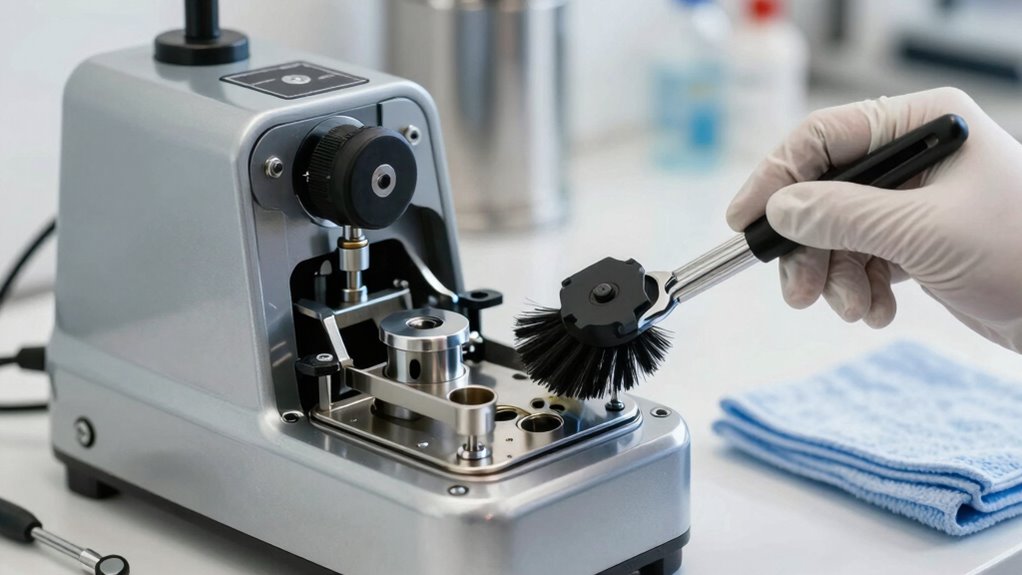
Remove and Clean Parts
Once your formula maker is unplugged and on a stable surface, start removing the accessible parts carefully. Proper parts removal is essential to make sure you clean every component thoroughly. Focus on removable parts like the mixing chamber, blades, and water reservoir. Check your manufacturer’s guidelines to determine the recommended cleaning frequency for each part. Regular cleaning prevents buildup and ensures the machine operates smoothly. Use gentle motions to detach parts without damaging any seals or connectors. Avoid rushing; take your time to disassemble correctly. Once removed, wash these parts with warm, soapy water or follow specific cleaning instructions. Properly cleaning and maintaining these components helps extend your formula maker’s lifespan and guarantees safe, hygienic use every time. Additionally, understanding the proper disassembly techniques can help prevent damage and make the cleaning process more efficient. Being aware of website performance metrics can also guide you in maintaining a clean and efficient workspace for your appliance. To further improve your routine, consider regular maintenance schedules to keep your formula maker functioning at its best. Incorporating step-by-step cleaning guides can also streamline the process and ensure no detail is overlooked. Paying attention to essential oil residues can help in choosing the right cleaning agents and prevent lingering odors.
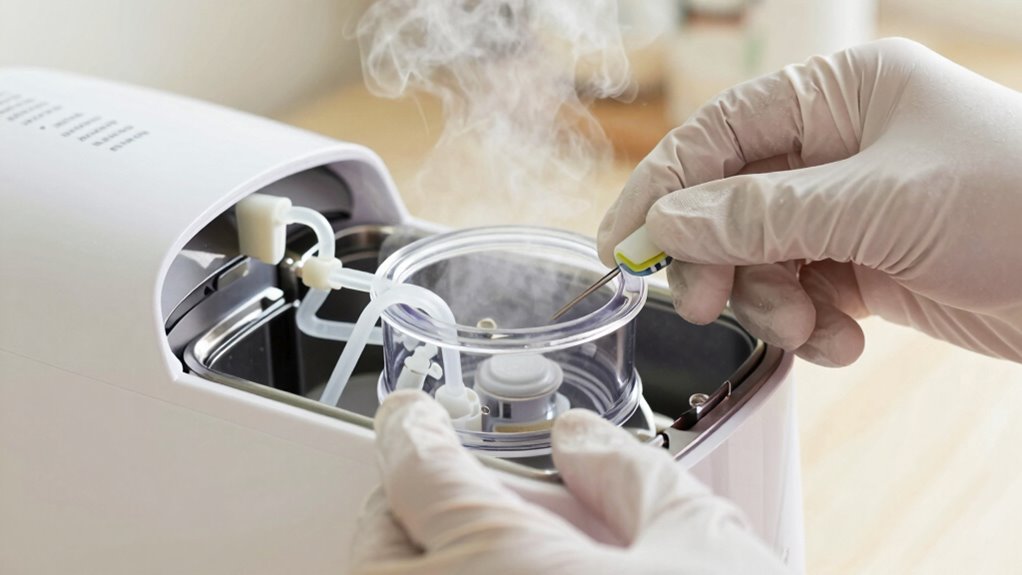
Sanitize All Parts of Your Bottle Maker to Keep It Safe

To keep your bottle maker safe, you need to sanitize all its parts thoroughly. Disassemble the machine for a deep clean, making sure no residue is left behind. Use safe, non-toxic cleaning agents to guarantee it’s properly sanitized without risking any contamination. Incorporating a routine that emphasizes piercing care and hygiene can help maintain optimal cleanliness and ensure safe operation. Regularly inspecting jewelry and replacing worn or damaged parts also contributes to overall safety and hygiene.
Disassemble for Deep Clean
Disassembling allows you to deep clean each part, keeping your bottle maker safe and hygienic for every use. Additionally, ensuring all parts are thoroughly sanitized helps prevent contamination risks and prolongs the lifespan of your appliance. Regular maintenance also supports optimal flavor extraction, ensuring each brew remains fresh and flavorful over time.
Use Safe Cleaning Agents
Using safe cleaning agents is essential to keep your bottle maker’s parts sanitized without risking damage or harmful residues. Always opt for gentle, non-abrasive safe agents designed for kitchen appliances. Harsh chemicals can compromise your equipment’s integrity and pose health risks. Prioritize cleaning safety by reading labels and avoiding bleach or strong solvents unless specified. Rinse thoroughly after cleaning to remove any residual agents, ensuring no harmful traces remain. Using the right cleaning agents helps maintain the longevity of your bottle maker and guarantees safe, clean operation. Remember, the goal is to eliminate bacteria and build-up without introducing new hazards. Consistently choosing safe agents ensures your routine remains effective and your device stays in top condition.
Tips for Drying and Storing Your Clean Equipment Properly

Proper drying and storage are essential to keep your equipment in top condition and prevent contamination. To guarantee ideal equipment maintenance, follow these storage best practices:
- Allow equipment to air dry completely before storing to prevent moisture buildup.
- Store in a clean, dry area away from direct sunlight and dust to avoid contamination.
- Use designated containers or racks that promote airflow and prevent cross-contact.
Common Mistakes That Can Lead to Bacteria Buildup

Have you ever overlooked a simple mistake that could lead to bacteria buildup on your equipment? One common cleaning oversight is rushing through the process or skipping critical steps. This can leave behind residue and moisture, creating ideal conditions for bacteria growth. Neglecting to thoroughly scrub all surfaces, especially hard-to-reach areas, allows bacteria to thrive unnoticed. Using improper cleaning agents or not changing cleaning tools regularly can also contribute to bacteria buildup. Even drying equipment inadequately leaves moisture that promotes bacterial proliferation. These small mistakes may seem insignificant but can compromise your hygiene routine. Staying vigilant, following a detailed cleaning routine, and avoiding shortcuts are key to preventing bacteria growth and ensuring your equipment remains safe and sanitary.
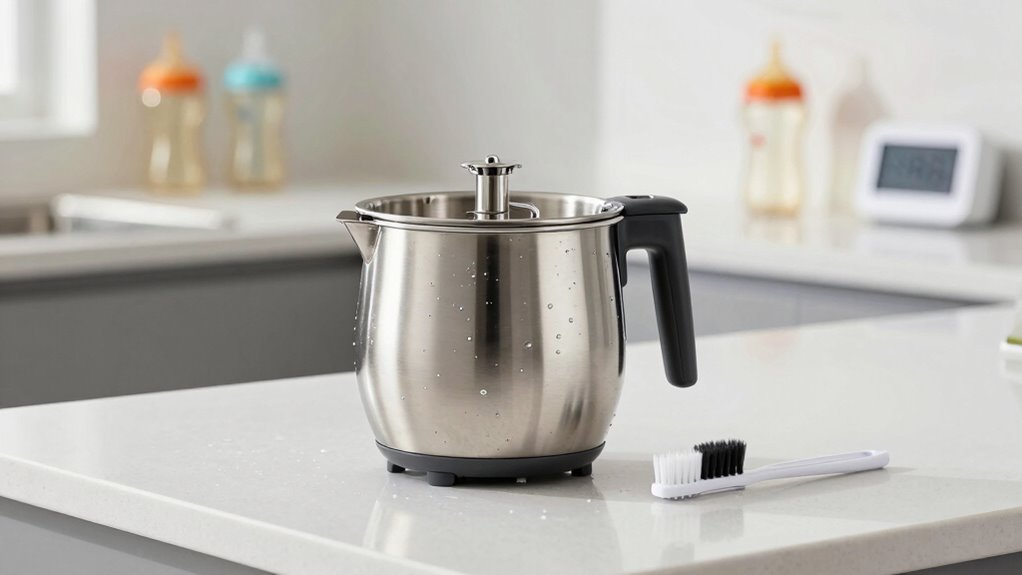
Tools and Products You Need for Effective Cleaning

To guarantee your cleaning efforts are effective, you’ll need the right tools and products on hand. Using proper equipment ensures cleaning safety and helps maintain your formula maker’s performance. First, invest in soft-bristle brushes and microfiber cloths to avoid scratching surfaces. Second, choose a gentle, non-abrasive cleaner to eliminate bacteria without damaging parts. Third, keep small tools like tweezers or toothpicks for detailed cleaning of hard-to-reach areas. Regular tool maintenance, such as rinsing brushes and replacing worn sponges, is essential for *peak* results. These tools and products make thorough cleaning easier and safer, helping you prevent bacteria buildup and extend your device’s lifespan. Remember, the right supplies are fundamental for effective, safe, and efficient cleaning routines.
How Often Should You Fully Clean Your Formula Maker?
Regularly cleaning your formula maker is essential to guarantee it functions safely and produces high-quality formulas. The ideal cleaning schedule depends on how often you use it. For daily use, aim for a thorough cleaning once a week to maintain proper hygiene and prevent buildup. If you use it less frequently, a deep clean every two weeks should suffice. To help you stay on track, here’s a simple schedule:
| Frequency | Maintenance Task | Notes |
|---|---|---|
| Daily/Weekly | Disassemble and rinse parts | Prevent residue buildup |
| Bi-weekly | Full cleaning, including descaling | Ensure peak performance |
| Monthly | Deep sanitize and inspect | Catch potential issues |
Adhering to this cleaning schedule keeps your formula maker in top shape and ensures safe, clean bottles every time.
Troubleshooting: What to Do If Your Bottle Still Smells or Looks Dirty
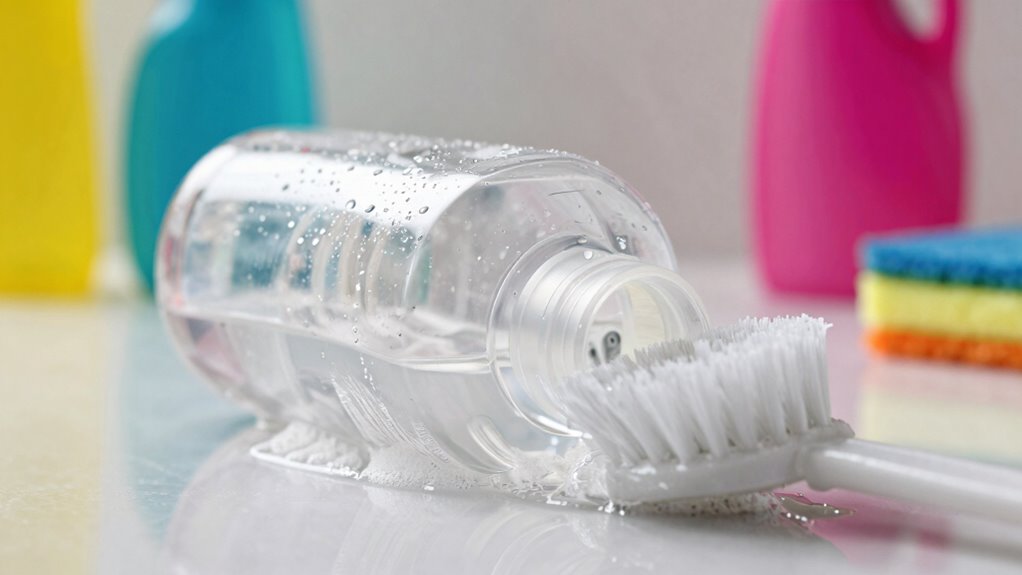
If your bottle still smells or looks dirty despite your cleaning efforts, it’s a sign that some residue or bacteria may be lingering. To fix this, focus on thorough residue removal and eliminating bottle odor. First, soak the bottle in a vinegar and water solution for at least 15 minutes to break down stubborn residue. Second, scrub all surfaces with a bottle brush, paying special attention to crevices. Third, rinse thoroughly with hot water and let it air dry completely. If odors persist, repeat the process or try a baking soda paste to neutralize lingering bottle odor. Remember, persistent residue or smell indicates your cleaning routine needs extra attention to ensure safety and freshness. Proper residue removal is key to a clean, odor-free bottle.
Frequently Asked Questions
Can Neglecting Cleaning Cause Health Issues for My Baby?
Neglecting cleaning your formula maker can indeed cause health issues for your baby. Hygiene myths often lead parents to underestimate the importance of proper cleaning frequency. If you skip regular cleaning, bacteria and mold can develop, risking infections or illnesses. To keep your baby safe, make sure you clean the device thoroughly after each use, following recommended routines, and don’t believe myths that suggest infrequent cleaning is enough. Proper hygiene protects your little one’s health.
Are There Specific Cleaning Products Recommended for Formula Makers?
Think of your formula maker as a castle that needs protecting. Use formula-specific cleaners designed to remove residue and bacteria safely, or opt for natural cleaning solutions like vinegar and baking soda to keep it spotless. These options guarantee no harmful chemicals reach your baby’s bottle, maintaining safety and hygiene. Regular, thorough cleaning with these products keeps your castle secure and your little one healthy and happy.
How Long Does a Full Cleaning Process Typically Take?
A full cleaning process usually takes about 10 to 15 minutes, depending on your cleaning frequency and how thorough you want to be. If you clean after each use, it’s quicker, around 5 minutes. For deep cleans less often, set aside extra time. Time estimation helps you stay consistent and guarantees your formula maker remains hygienic and safe for your baby.
Is It Safe to Leave Parts Wet After Cleaning?
A stitch in time saves nine, so don’t leave parts wet after cleaning. It’s unsafe because moisture promotes bacteria growth. Use effective drying methods like air drying or towel drying to guarantee parts are thoroughly dry. Follow sanitization tips such as using a clean cloth and allowing adequate air circulation. This prevents mold and germs, keeping your equipment safe and hygienic for every use.
Should I Replace Parts Regularly to Maintain Hygiene?
Yes, you should replace parts regularly to maintain hygiene. Over time, replacement parts can wear out or accumulate bacteria, making cleaning less effective. By swapping out worn or damaged components, you guarantee better hygiene maintenance and prevent mold or bacteria buildup. Regular replacement not only prolongs the lifespan of your formula maker but also guarantees that your baby’s health isn’t compromised by contaminated parts. Stay vigilant and replace parts as recommended.
Conclusion
Skipping the final step of thorough drying and proper storage might seem harmless, but it can lead to bacteria growth and unsafe feed for your baby. Think of it like leaving food out—it spoils quickly. By consistently following every step, especially drying and storing correctly, you’re not just cleaning your formula maker—you’re ensuring your little one’s safety. Trust the process, because a clean, bacteria-free bottle means peace of mind for you.