
Your miter saw capacity determines the largest cuts you can make safely and accurately. It measures how wide and deep your saw can cut, affecting the projects you can handle, like molding or timber. Knowing these limits helps prevent accidents and ensures precise results. Equipment specs vary, and exceeding them can cause damage or injury. To learn more about how to measure your saw and work within its capacity, keep exploring these important details.
Key Takeaways
- Miter saw capacity defines the maximum width and depth of material you can cut safely and accurately.
- Measure capacity by tilting the saw for width and lowering the blade for depth before cutting.
- Typical crosscut capacity is around 12 inches; miter cut capacity is usually slightly less.
- Exceeding the saw’s capacity risks binding, kickback, and damage to the tool or workpiece.
- Knowing your saw’s limits helps plan projects, select appropriate blades, and ensure safe operation.
What Is Miter Saw Capacity and Why Does It Matter?

Understanding what miter saw capacity is essential because it determines the largest pieces you can cut accurately and safely. Knowing your saw’s capacity helps prevent accidents and ensures you complete projects efficiently. To do this safely, always follow safety precautions like wearing eye protection and keeping hands clear of the blade. Regular maintenance tips, such as cleaning the saw and checking for loose parts, keep it functioning properly and help you make precise cuts. Miter saw capacity influences the types of projects you can take on, whether trimming molding or cutting large timber. Ignoring capacity limits can lead to dangerous situations or poor cuts. Additionally, understanding battery inverter generator capacity can be useful if you’re using portable power sources for your tools, ensuring you select the right equipment for your needs. For example, knowing the cutting capacity of your saw guides you in choosing the appropriate blade and setup for specific tasks. A comprehensive understanding of miter saw features, such as size and motor power, helps you select the best tool for your project requirements. Proper knowledge of saw capacity, including its measuring standards, enhances your ability to work confidently, safely, and achieve better results with every project. Recognizing the importance of safety guidelines tailored to your equipment further ensures safe operation during all cutting tasks.
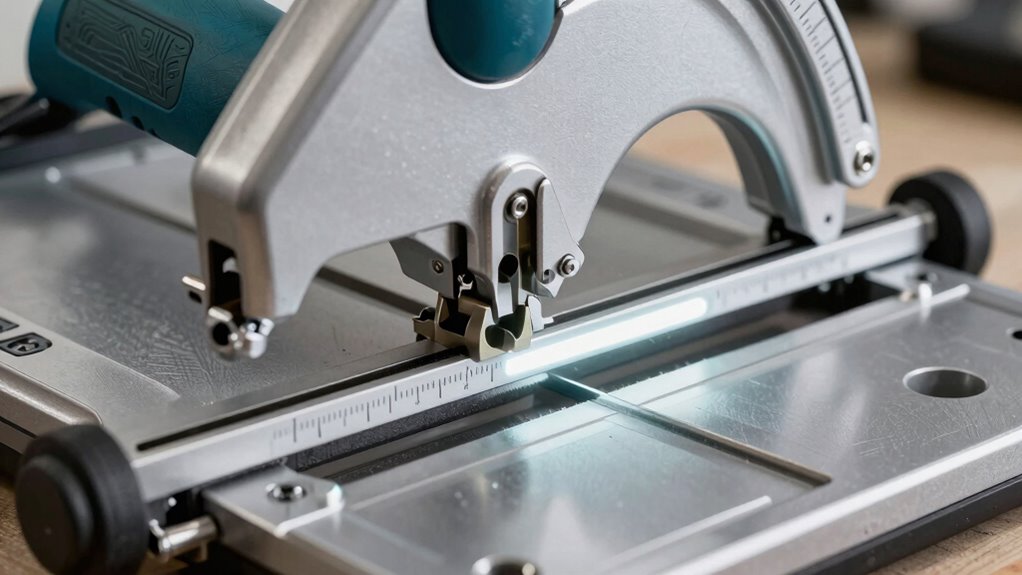
How to Measure Your Miter Saw’s Maximum Cut Width and Depth

To accurately measure your miter saw’s maximum cut width and depth, you need to take specific, straightforward steps. First, verify the saw is unplugged and follow safety precautions to prevent accidents. For cut width, position the saw at its maximum tilt, then raise the blade and measure the distance from the fence to the blade’s edge. To determine cut depth, set the saw to a 90-degree angle, lower the blade fully, and measure from the base to the blade’s highest point. Regular maintenance tips include keeping the saw clean and lubricated, which ensures accurate measurements and safe operation. Always double-check measurements before making cuts to avoid mishaps, and remember that proper measurement is key to achieving precise results and maintaining your saw’s longevity. Additionally, understanding the miter saw’s capacity helps you select the right tool for various projects and ensures safe operation. Knowing your saw’s maximum cut dimensions allows for better planning and prevents overestimating its capabilities. Moreover, familiarizing yourself with the cutting angles can expand your project options and improve accuracy. Incorporating a measuring tape or ruler into your routine can help improve the precision of your measurements and ensure consistent results. Using a calibration gauge periodically can also help maintain measurement accuracy over time.
What Are Crosscuts and Miter Cuts, and What Can My Saw Handle?
Crosscuts and miter cuts are fundamental techniques for shaping and fitting wood pieces accurately. Crosscuts slice across the grain, giving you clean, straight edges, while miter cuts angle the blade for precise corner joints. Your saw can typically handle crosscuts up to a certain width and depth, depending on its capacity. To stay safe, always follow safety precautions like wearing eye protection and securing your workpiece. Accessory options, such as miter gauges and clamps, can improve precision and safety. Here’s a quick overview of cutting capabilities:
| Cut Type | Max Width | Max Depth |
|---|---|---|
| Crosscut | 12 inches | 3 inches |
| Miter Cut | 10 inches | 2.5 inches |
| Bevel Cut | 8 inches | 2 inches |
Knowing these limits guarantees you work within your saw’s capabilities.
What Are the Common Limitations of Miter Saw Capacity?

Your miter saw has limits that you need to be aware of, like how thick the material can be cut and how wide or long the pieces can be. Blade size also plays a role in what your saw can handle safely and effectively. Understanding these restrictions helps you choose the right saw for your projects and avoid potential issues. Additionally, being aware of regional flavors and chicory/coffee insights can inspire unique woodworking projects or themed finishes. Recognizing equipment specifications ensures optimal performance and safety during your cuts.
Material Thickness Limits
Most miter saws have a maximum material thickness they can handle, determined by the size of the blade and the saw’s design. This limit guarantees safe and accurate cuts, so exceeding it can be dangerous. Before making cuts, always check the saw’s specifications to avoid overloading the blade. Keep safety precautions in mind, like wearing eye protection and securing the material properly. Regular maintenance tips, such as cleaning dust and inspecting the blade for wear, help maintain consistent performance. Remember, trying to cut thicker material than your saw’s capacity can cause binding, kickback, or damage to the saw. Staying within the recommended thickness ensures safer operation, cleaner cuts, and prolongs the tool’s lifespan. Know your saw’s limits and operate it responsibly. Additionally, understanding miter saw capacity helps prevent accidents and ensures you achieve precise results every time. Being aware of material thickness limits also assists in selecting the right saw and blades for specific projects, improving overall safety and efficiency. Properly adjusting the saw’s settings in accordance with blade size and material type is essential for optimal performance and safety. Recognizing cutting capacity factors enables you to plan projects more effectively and avoid costly mistakes. Moreover, familiarizing yourself with safety guidelines related to your saw can further help in preventing mishaps during operation.
Width and Length Constraints
The width and length of materials you can cut with a miter saw are limited by the size of the saw’s blade and its sliding or non-sliding design. Non-sliding miter saws typically cut narrower boards, usually up to 6-8 inches wide, while sliding models can handle wider cuts, sometimes up to 12 inches or more. Lengthwise, your cut is constrained by the material’s length and the saw’s maximum cut capacity, which varies by model. Always follow safety precautions to prevent accidents, especially when cutting larger pieces. Regular maintenance tips, like keeping the rails clean and blades sharp, help maintain accuracy and safety. Understanding these constraints ensures you select the right saw for your projects and operate it safely and effectively. Additionally, being aware of the cutting capacity limitations can help you plan your projects more efficiently and avoid unexpected challenges during operation. Knowing the miter saw’s size restrictions can also guide you in choosing the appropriate tools for specific tasks, saving time and reducing frustration. Being familiar with the saw’s maximum dimensions allows for better project planning and helps prevent overestimating your equipment’s capabilities. Properly assessing these capacity constraints ensures optimal use of your saw and improves overall safety during operation. Recognizing the material size limitations can help you select the best cutting methods and accessories for your specific needs.
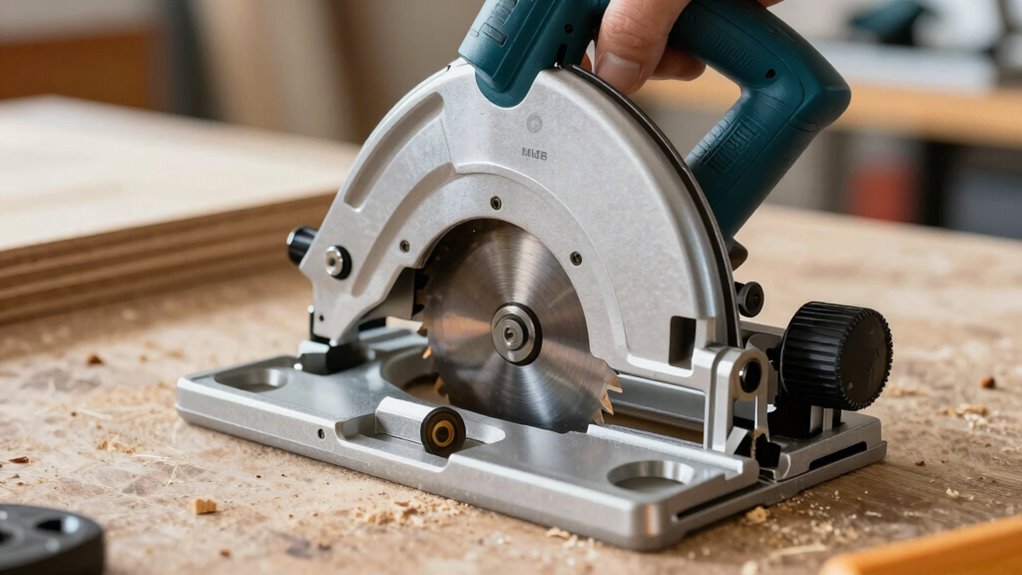
Blade Size Restrictions
Blade size is a key factor that limits the cutting capacity of a miter saw. Larger blades generally allow you to cut thicker and wider materials, but they also require more motor power to operate effectively. Smaller blades, like 7-1/4-inch, are suitable for lighter tasks, while 10-inch or 12-inch blades handle more demanding cuts. Keep in mind that your motor power must match the blade size; a less powerful motor struggles with bigger blades, reducing your overall capacity.
- Larger blades need stronger motors for smooth cuts
- Blade size impacts maximum material thickness
- Smaller blades are better for precision cuts
- Larger blades can cause increased vibrations
- Motor power limits the practical blade size for safe operation
How Do Material Size and Material Type Affect Your Cuts?
Material size and type directly influence how you should approach your cuts, as larger or denser materials require more power and a different cutting technique. Thicker or harder woods, like oak or maple, demand sharper blades and slower speeds to maintain cut precision and prevent blade wear. Larger materials may exceed your saw’s capacity, risking poor cuts or damage. Consider the material’s durability; softer woods like pine cut easily but may splinter if not handled properly. Use this table to understand how different materials impact your cuts:
| Material Type | Size Limitations | Cut Quality Impact |
|---|---|---|
| Soft woods | Larger feasible | High cut precision |
| Hard woods | Smaller, careful | Lower cut speed |
| Composite | Moderate size | May chip or splinter |
Matching your material’s size and type ensures safer, more accurate cuts. Additionally, understanding material properties can help you select the proper blade and settings for your project, especially when considering material hardness and its effect on cutting performance.
Can My Miter Saw Handle Large or Thick Boards?
Understanding whether your miter saw can handle large or thick boards depends on its specific capacity limits. Check the maximum cut height and width specified by the manufacturer to ensure safe, effective cuts. If you’re working with thick or wide materials, consider these points:
- Confirm the saw’s maximum cutting capacity before starting.
- Use proper safety precautions, like securing the board firmly.
- Keep the saw blades sharp and clean to prevent binding.
- Regularly inspect and maintain your saw for consistent performance.
- Avoid forcing cuts beyond the saw’s limits, which can cause damage or accidents.
How Can I Plan Cuts to Stay Within My Miter Saw’s Capacity?
To keep your cuts within your miter saw’s capacity, start by measuring your board’s dimensions carefully. Adjust your cutting angles to avoid overextending the saw, and always secure the workpiece with proper clamping. These steps help make certain safe, accurate cuts without exceeding your saw’s limits.
Measure Board Dimensions
Ever wonder how to plan your cuts to stay within your miter saw’s capacity? The key is accurately measuring your board dimensions using proper measurement techniques. First, check the board specifications—its length, width, and thickness—to ensure they fit your saw’s limits. Use a tape measure or ruler to get precise readings. Keep in mind:
- Measure the entire length and width before cutting
- Note the thickness to avoid exceeding depth capacity
- Mark cut lines clearly to stay within measured bounds
- Consider the board’s grain direction for smoother cuts
- Double-check measurements to prevent errors
Adjust Cutting Angles
Adjusting your cutting angles is essential for staying within your miter saw’s capacity, especially when dealing with wider or thicker boards. Proper angle adjustment allows you to make angled cuts without exceeding the saw’s limits. When planning your cuts, consider bevel angles, which tilt the blade to create beveled edges. Reducing the bevel angle can decrease the thickness of the cut, making it easier to handle larger pieces. Always check your saw’s maximum capacity at different angles, as capacity often varies with bevel and miter adjustments. By carefully planning your cuts and adjusting the angles accordingly, you can avoid overextending your saw’s limits and achieve precise results within its capacity.
Use Proper Clamping
Using proper clamping is essential for planning cuts that stay within your miter saw’s capacity. Secure your workpiece firmly to prevent shifting, which can compromise clamp safety and cutting accuracy. Proper clamping allows you to make precise cuts without overloading the saw or risking kickback. Before cutting, check that the clamp holds the material securely and doesn’t interfere with the blade’s path. Adjust the clamp if necessary to ensure stability. Remember, well-placed clamps help you avoid unnecessary force, reducing the risk of accidents or damaging your workpiece.
- Use clamps that match the thickness of your material
- Position clamps away from the cut line
- Tighten clamps firmly but avoid over-tightening
- Ensure clamps don’t obstruct the saw’s movement
- Regularly inspect clamps for damage
Can I Increase My Miter Saw’s Capacity? Upgrades and Modifications
While it’s tempting to think you can simply upgrade your miter saw to handle larger cuts, increasing its capacity isn’t always straightforward. A blade upgrade might allow you to use larger blades, but it won’t necessarily increase the maximum cut width or depth. Similarly, motor enhancement is usually impractical because most saws are designed with specific motor capacities that limit their size and power. Modifying the saw’s structure, such as extending the arms or base, can compromise safety and stability. Before attempting any upgrades, check your saw’s manufacturer guidelines. In many cases, investing in a larger, more capable saw is a safer and more effective solution than trying to modify your existing tool.
What Projects Are Possible Within Typical Miter Saw Limits?
A typical miter saw is ideal for a wide range of woodworking projects, especially those involving precise crosscuts and angled cuts on smaller to medium-sized materials. With its capacity, you can build picture frames, moldings, small furniture pieces, shelves, and custom trim work. These projects benefit from accurate cuts and proper miter angles, emphasizing miter saw safety and correct woodworking techniques. Keep in mind, exceeding the saw’s limits can compromise safety and cut quality. Here are some projects within typical miter saw limits:
- Making picture frames and photo mats
- Cutting crown molding or baseboards
- Creating small furniture components like tabletops or legs
- Crafting window and door casings
- Building decorative trim or molding accents
Sticking to these projects ensures safe, effective use of your saw’s capacity.
Frequently Asked Questions
How Does Blade Size Affect Miter Saw Capacity?
Blade size directly impacts your miter saw’s capacity by determining the maximum cutting depth and width. A larger blade diameter allows you to cut thicker and wider materials, giving you more versatility. With increased cutting depth, you can handle bigger projects. So, when choosing your saw, consider the blade size carefully, as it sets the limit for the size of cuts you can make confidently and accurately.
Can I Cut Metal or Other Materials With My Miter Saw?
Sure, you can cut metal or other materials with your miter saw—if you’re okay with wrecking it. Most miter saws are designed for wood, not metal, unless you have a special blade and proper setup. For metal cutting or alternative materials, it’s smarter to use tools like a hacksaw or a specialized metal-cutting saw. Otherwise, you risk damaging your saw and making unsafe cuts.
What Safety Precautions Are Essential for Large Cuts?
When making large cuts, you should always wear safety gear like goggles and hearing protection. Make certain your workspace is clear and stable, and always double-check your blade alignment. Keep emergency procedures in mind—know where the shut-off switch is and avoid distractions. Never force the saw, and stay focused throughout the process. Following these precautions helps prevent accidents and ensures safe, accurate cuts on your miter saw.
How Often Should I Calibrate My Miter Saw?
A stitch in time saves nine, so you should calibrate your miter saw regularly. For saw maintenance, check calibration at least once a month or whenever you notice inaccuracies in cuts. Frequent calibration ensures precision and safety, especially if you use the saw often or change blades. Keep your saw in top shape by sticking to a consistent calibration frequency, so your cuts stay accurate and your projects stay on track.
Are There Specific Miter Saws Designed for Professional Use?
Yes, there are miter saws designed specifically for professional use. These models feature advanced professional features like enhanced precision, greater durability, and superior construction quality. They often include heavier-duty motors and robust materials to withstand frequent use. If you work on large projects or need consistent accuracy, investing in a professional-grade miter saw guarantees you get reliable performance, better results, and a longer lifespan.
Conclusion
Understanding your miter saw’s capacity is like knowing the limits of a trusty tool—once you know them, you can plan your cuts with confidence. By measuring and considering material types, you’ll avoid surprises and make precise cuts every time. Remember, it’s better to work within your saw’s limits than push it beyond, like trying to fit a square peg in a round hole. Stay informed, and your projects will turn out just right.