
Before you pull the trigger on your paint sprayer, make certain you thoroughly evaluate your surface’s cleanliness, dryness, and material compatibility. Set up your workspace by organizing tools, protecting surroundings with drop cloths, and ensuring good ventilation. Choose the right paint, thin it properly, and test spray settings on a small area. Wear safety gear, practice your technique, and check equipment for proper function. Mastering these steps now will help you avoid costly mishaps and achieve a flawless finish.
Key Takeaways
- Ensure surface cleanliness and compatibility with paint and sprayer to prevent adhesion issues.
- Organize workspace, check equipment, and wear safety gear before starting.
- Test and thin paint properly, practicing on scrap to refine technique and prevent drips.
- Maintain consistent spray distance, motion, and overlap for uniform application.
- Prioritize ergonomics and safety measures to reduce fatigue and avoid accidents.

AirGearPro G-500 Reusable Respirator Mask with A1P2 Filters | Anti-Dust Mask Ideal for Painting, Woodworking, Construction, Sanding, Spraying, Chemicals, DIY etc
PROTECTION : The AirGearPro G-500 Respirator mask and Safety Goggles are CE certified to ensure your protection during…
As an affiliate, we earn on qualifying purchases.
As an affiliate, we earn on qualifying purchases.
Evaluate Your Surface and Material Compatibility
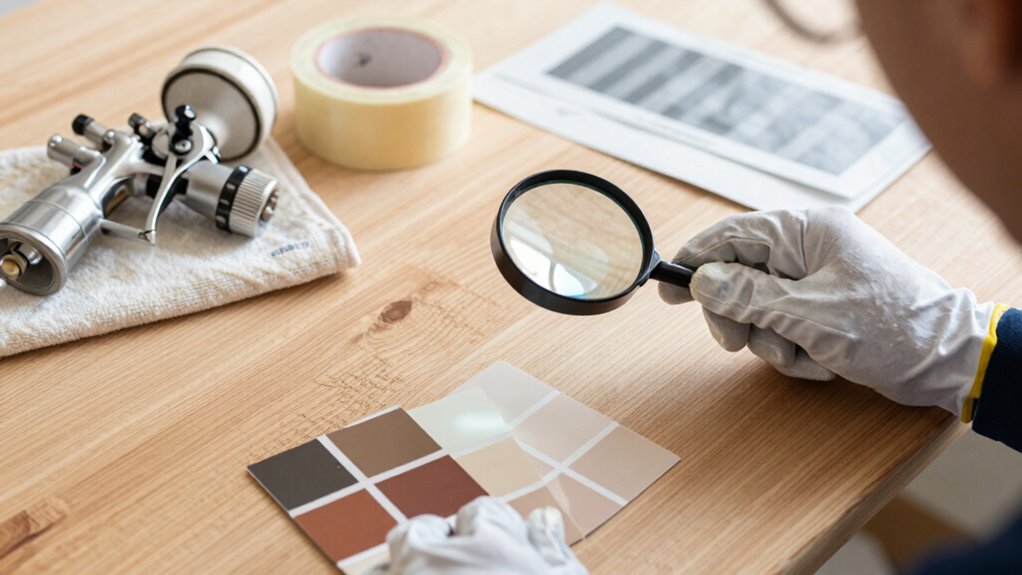
Before starting your painting project, it’s essential to evaluate whether your surface and material are compatible with your chosen paint sprayer. Proper surface preparation ensures the material adheres correctly and reduces the risk of uneven coverage or drips. Check if the surface is clean, dry, and free of loose debris or peeling paint. Additionally, verify material compatibility by reviewing the paint’s specifications and the sprayer’s capabilities. Some paints may be too thick or thin for certain sprayers, leading to clogging or inconsistent spray patterns. Testing a small area first helps confirm compatibility and identifies any adjustments needed. Taking these steps minimizes problems during application, saves time, and ensures a smooth, professional finish. Considering the horsepower of your sprayer can also help you select the right equipment for larger projects, ensuring efficient and even coverage. Proper surface preparation is also crucial for achieving a durable and attractive finish. For optimal results, understanding material compatibility can prevent costly mistakes and rework. Additionally, assessing paint viscosity can help you make necessary adjustments to achieve the desired spray performance. Being aware of clogging issues and how to prevent them will further ensure a smooth application process.

17pcs Multi-Purpose Spray Gun Cleaning Kit,Nylon Brushes Paint Gun Cleaning Kit Mini Brushes & Needles for Clean Airbrush Nozzles Spray Guns Tattoo Equipment (17)
★ This handy spray guns cleaning kit is all you need to keep your spray guns clean and…
As an affiliate, we earn on qualifying purchases.
As an affiliate, we earn on qualifying purchases.
Set Up Your Workspace for Safety and Cleanliness
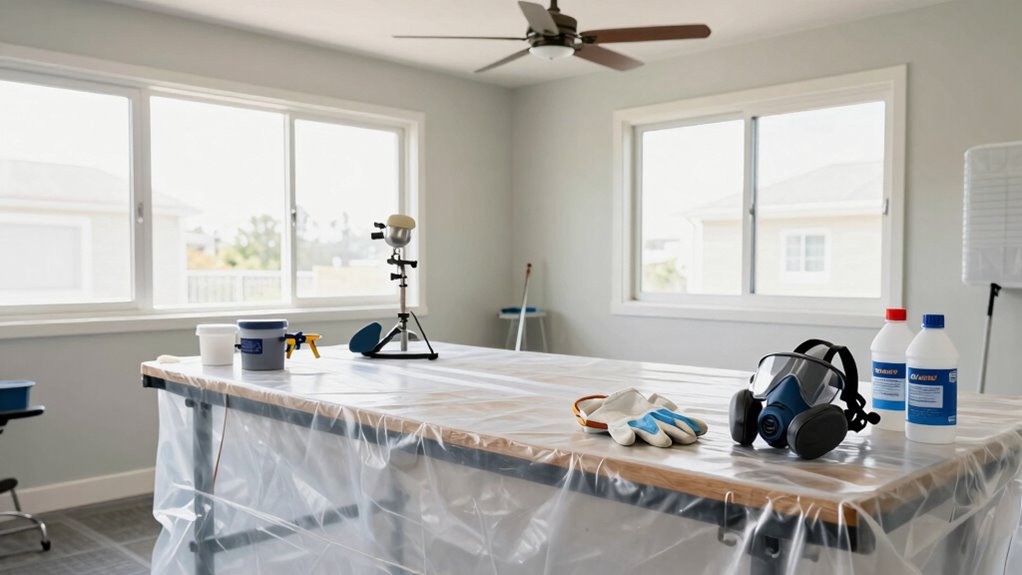
To guarantee a safe and efficient painting process, setting up your workspace with careful attention to cleanliness and safety measures is essential. Start by organizing your tools and materials to minimize clutter and prevent accidents. Make sure that your storage safety practices are in place—keep solvents, paints, and cleaning supplies in well-ventilated areas, away from heat sources. A tidy workspace reduces the risk of spills, slips, and fire hazards. Clear the area of unnecessary items, and designate specific zones for mixing, spraying, and drying. Good workspace organization helps you work efficiently and safely, preventing mishaps that could lead to injuries or damage. Additionally, ensure proper ventilation and filtration to remove fumes and maintain air quality during painting. Proper airflow management can significantly reduce the buildup of hazardous fumes and improve overall safety. Adequate lighting also plays a crucial role in ensuring precision and avoiding accidents during the painting process. Implementing noise control measures in your workspace can also contribute to a safer environment by reducing distractions and preventing accidents. You should also consider hazard identification to recognize potential risks before starting work. Taking these steps ensures your environment is both safe and conducive to a smooth painting process.

12 x 9 Ft Plastic Drop Cloths (6-Pack) – Disposable Painter's Sheeting & Tarps for Painting, Waterproof Furniture/Couch/Floor Protection
1. Versatile Floor and Furniture Protection: More than just for painting, these durable plastic sheet protect floors, furniture,…
As an affiliate, we earn on qualifying purchases.
As an affiliate, we earn on qualifying purchases.
Choose and Thin Paint Properly for Your Sprayer
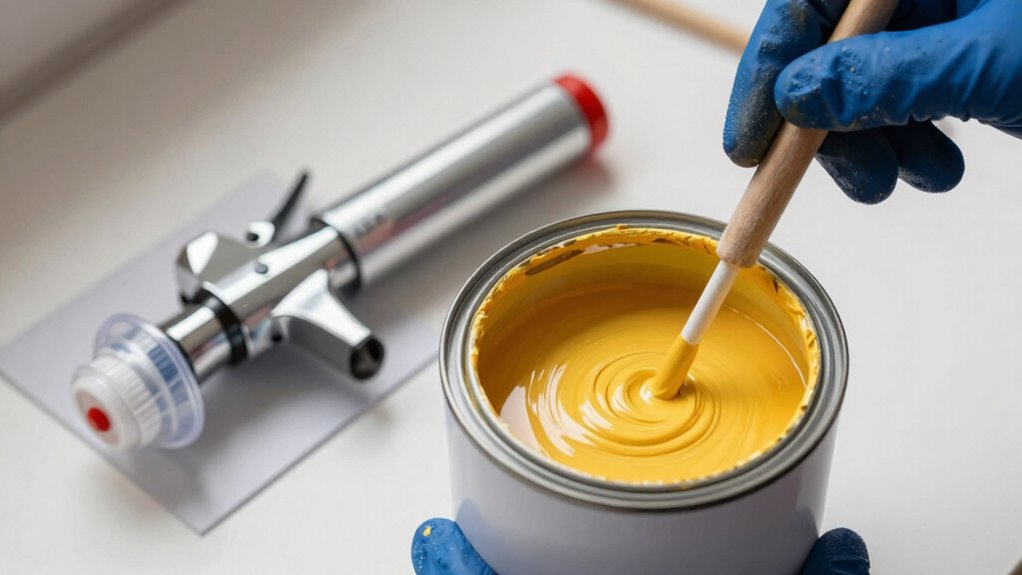
Choosing the right paint and thinning it correctly are essential steps for achieving a smooth, even spray and preventing clogs or uneven coverage. Start by checking the paint’s consistency; it should flow smoothly through the sprayer without being too thick or runny. If the paint is too thick, use appropriate thinning agents like water or paint-specific reducers, based on the type of paint you’re using. Add thinning agents gradually, stirring thoroughly and testing the spray pattern before starting your project. Properly thinned paint ensures better atomization, reduces strain on your sprayer, and results in a professional finish. Remember, each paint type may require different thinning ratios, so always refer to the manufacturer’s recommendations for ideal results.

2-Pack Paint Viscosity Cup for Paint Sprayer, Plastic Flow Viscosity Cup Set with Handle, Liquid Consistency Tester for Paint, Coatings, Resin, Oil & DIY Projects
Check paint consistency before spraying: Use this paint viscosity cup to dip, fill, and time the liquid flow…
As an affiliate, we earn on qualifying purchases.
As an affiliate, we earn on qualifying purchases.
Protect Surroundings With Drop Cloths and Masking Tape
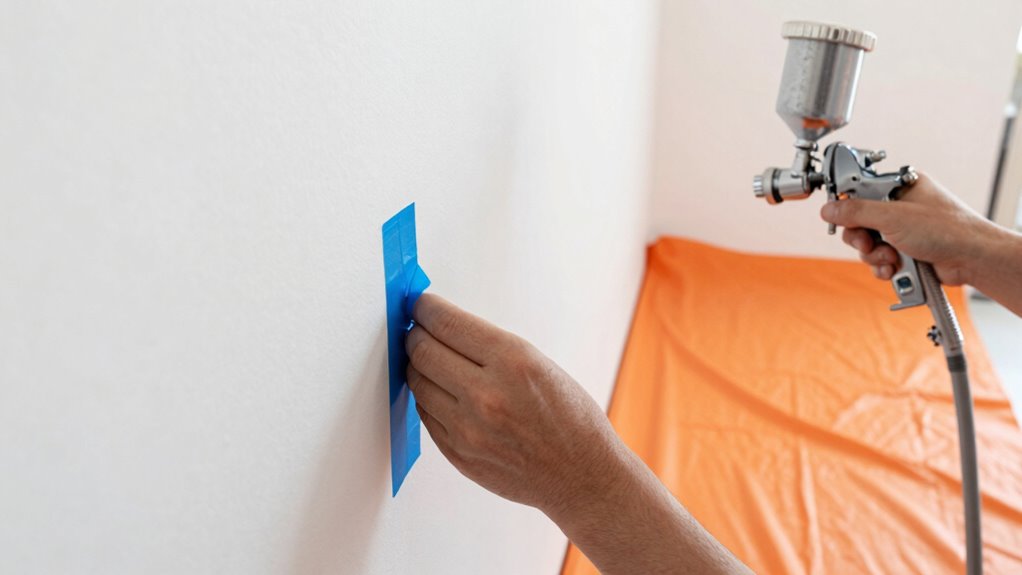
Protecting your surroundings is a vital step that guarantees paint doesn’t end up where it shouldn’t. Use drop cloths to cover floors, furniture, and fixtures, preventing splatters and drips. Masking tape is essential for creating clean lines around trim, outlets, and edges. Carefully tape off areas you want to keep paint-free, and secure drop cloths so they don’t shift during spraying. Planning this setup minimizes mess and saves time on cleanup. Here’s a quick guide:
| Area to Protect | Material Needed | Tips |
|---|---|---|
| Floors | Drop cloths | Use multiple layers if needed |
| Furniture | Drop cloths | Cover completely |
| Trim & Edges | Masking tape | Press firmly for adhesion |
| Windows & Outlets | Masking tape | Seal tightly |
| Fixtures | Drop cloths, tape | Cover and tape securely |
Proper preparation keeps your project neat and stress-free.
Test Your Paint Sprayer Settings on a Small Area
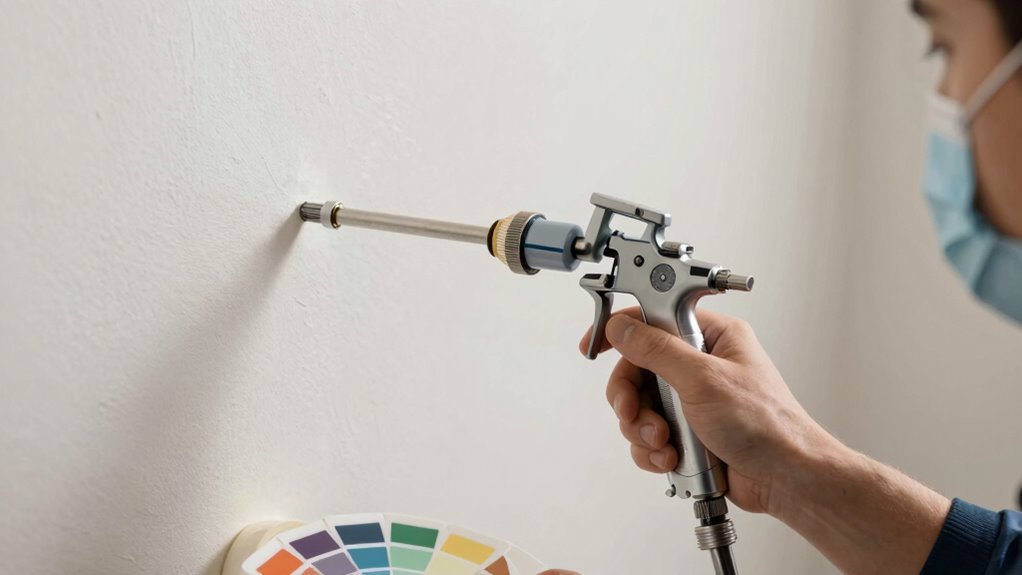
Before starting your main painting job, it’s crucial to test your spray settings on a small, inconspicuous area. This allows you to fine-tune the paint flow and nozzle adjustment for ideal results. Adjust the nozzle to achieve a smooth, even spray pattern without drips or overspray. Check the paint flow to ensure it’s consistent and appropriate for the surface you’re working on. If the paint is too thick or too thin, modify the flow rate accordingly. Use a scrap piece or hidden section to observe the spray, making sure the pattern is uniform and doesn’t puddle. Performing a proper dilution check helps prevent uneven coverage, paint runs, or waste, setting you up for a smooth, professional finish on the main surface. Additionally, inspecting your equipment for any wear and tear can help avoid malfunctions during the actual painting process. Regularly cleaning your sprayer after use also extends its lifespan and maintains optimal performance. Conducting a pressure check before starting ensures consistent spray and helps prevent irregularities during your project. Incorporating a sound understanding of equipment can further improve your control and results throughout the painting process.
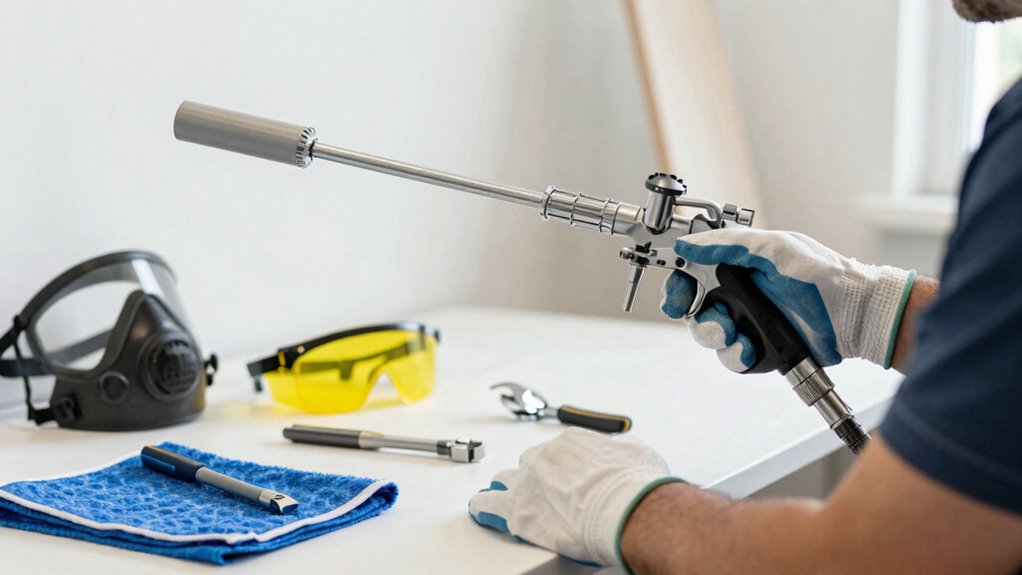
Wear Safety Gear for Eyes, Respiratory Protection, and Skin
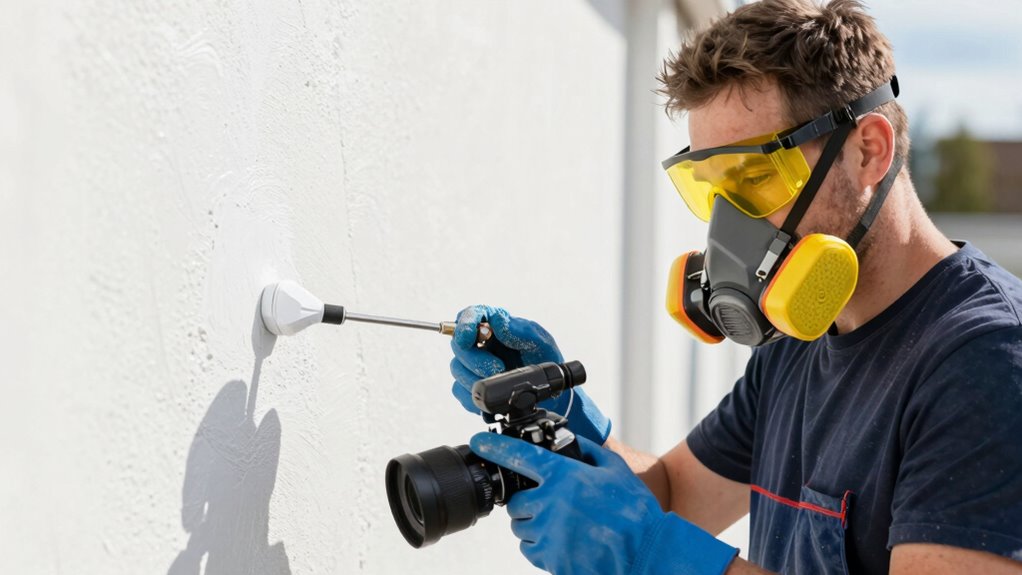
Since paint spraying can release harmful fumes and particles, it’s essential to wear proper safety gear to protect your eyes, respiratory system, and skin. Always wear protective eyewear to shield your eyes from splatters and airborne debris. Respiratory masks are crucial for filtering out toxic fumes and fine particles that can irritate your lungs or cause health issues over time. Cover your skin with long sleeves, gloves, and other protective clothing to prevent contact with harmful chemicals. Don’t skip these safety measures; they’re vital for your health and safety during the spraying process. Additionally, using portable oil radiators with safety features can help maintain a safe environment during your project. Ensuring proper personal protective equipment reduces exposure to hazardous substances and enhances overall safety. Remember, safety protocols are essential for preventing accidents and ensuring a successful project. Following household safety tips can further minimize risks and create a safer workspace for everyone involved.
Practice Your Spraying Technique for Even Coverage and Drip Prevention
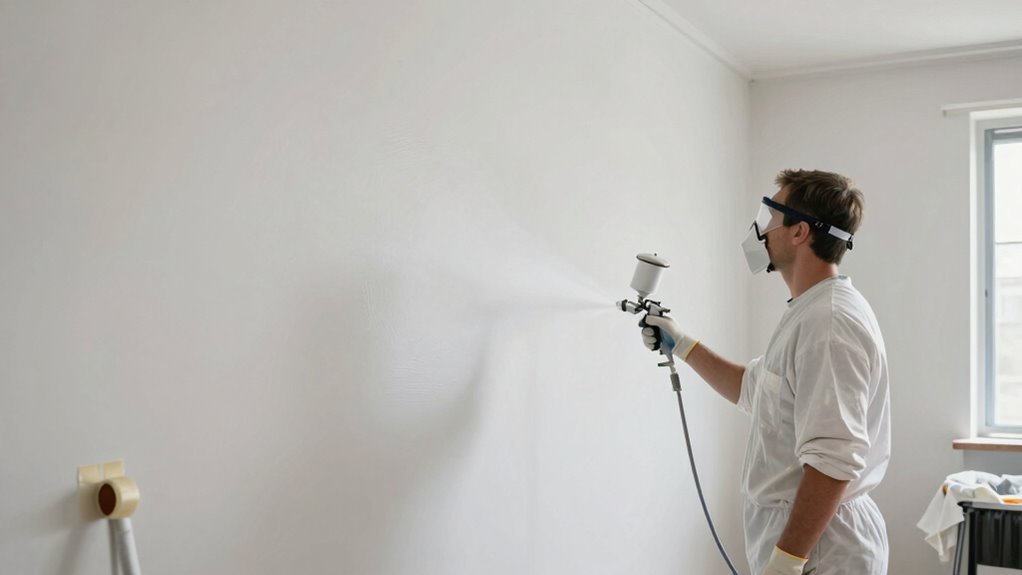
To achieve smooth, even coverage, you need to master your spraying technique and keep a consistent distance from the surface. Practicing on scrap material helps you control your spray and prevent drips before working on your project. Focus on maintaining steady motions and adjusting your technique as needed for the best results. Additionally, adopting proper protective gear like masks and gloves ensures safety while practicing your spray techniques. Incorporating proper fiber intake such as chia seeds and flaxseeds can also help maintain your focus and stamina during long practice sessions. Staying aware of everyday safety tips can further enhance your overall safety and preparedness during your painting projects. Moreover, understanding ergonomic body positioning can reduce fatigue and improve your control during spraying, leading to more consistent results. Furthermore, integrating connected equipment into your practice routine can provide real-time feedback and improve your spraying consistency.
Master Proper Technique
Are you confident your spraying technique guarantees even coverage and prevents drips? Mastering proper technique is essential. Start by practicing brush techniques to understand how to control the spray pattern and avoid uneven coats. Properly mixing your paint colors ensures consistency throughout your project, reducing the need for multiple coats. Keep your hand steady and move the sprayer smoothly across surfaces, maintaining a consistent speed. Overlapping each pass slightly helps achieve uniform coverage. Avoid pressing the trigger too hard, which can cause drips, and release it at the end of each stroke. The more you practice, the more you’ll develop a steady hand and an eye for even application. Precision and control are key to achieving professional-looking results and preventing disasters.
Maintain Consistent Distance
Maintaining a consistent distance between your sprayer and the surface is crucial for achieving even coverage and preventing drips. Your spray distance directly influences the thickness and uniformity of the coat. Keep the sprayer at the recommended distance, usually 10 to 12 inches, depending on the equipment. Staying consistent with this application prevents uneven layers and runs. If you move too close, you risk excess paint, leading to drips; too far, and coverage becomes sparse. Practice maintaining a steady hand and smooth motion to ensure a consistent application. Regularly check your spray pattern and adjust your distance as needed. By controlling your spray distance, you’ll produce a professional finish and minimize the chance of costly mistakes.
Practice on Scrap Material
Practicing on scrap material gives you a safe space to perfect your spraying technique before working on your actual project. Use this time to focus on achieving even coverage and preventing drips. Start by adjusting your paint viscosity—if it’s too thick, thin it out; if too thin, add more paint. Next, experiment with color mixing to see how new shades spread and dry. Then, test your spray pattern and distance, maintaining a consistent speed. Finally, observe the results: check for drips, uneven coats, or dry spots. Use these insights to refine your technique, ensuring smooth, uniform coverage on your main surface. Practicing here helps you avoid costly mistakes and builds confidence before you pull the trigger on your real project.
Frequently Asked Questions
How Do I Determine the Best Spray Pattern for My Project?
To determine the best spray pattern for your project, start by considering the surface area and shape you’re working on. Use spray pattern selection options on your sprayer to match the coverage needs—wide for large, flat surfaces and narrow for detailed areas. Test on scrap material first to guarantee even coverage, helping you choose the right pattern for efficient project coverage without drips or missed spots.
What Are Common Mistakes to Avoid During Paint Thinning?
You should avoid common mistakes during paint thinning by ensuring proper paint consistency. Don’t add too much thinning agent, as it can cause drips or poor coverage. Always follow the manufacturer’s instructions for the correct amount of thinning agents to use. Test the consistency before spraying, and avoid thinning with incompatible substances. This helps prevent clogs, uneven spray patterns, and other issues that could ruin your project.
How Often Should I Clean My Paint Sprayer During Use?
You should clean your paint sprayer every few hours of continuous use or whenever switching colors to maintain proper performance. Regular cleaning prevents clogs and buildup, ensuring smooth operation. Follow maintenance tips like flushing the system with water or solvent after each use and inspecting parts for wear. By maintaining a consistent cleaning frequency, you extend your sprayer’s lifespan and achieve better, more even finishes on your projects.
Can I Use Different Paint Types With the Same Sprayer?
Did you know that a versatile sprayer can handle up to five different paint types? Yes, you can use different paint types with the same sprayer, but you need to check paint compatibility first. Mixing incompatible paints can clog your sprayer or cause uneven coating. For sprayer versatility, thoroughly clean your equipment between uses and adjust settings accordingly. This guarantees peak performance and a smooth finish every time.
What Should I Do if My Sprayer Leaks or Jams?
If your sprayer leaks or jams, stop using it immediately for safety. Check for clogs or loose parts as part of your troubleshooting tips. Wear safety precautions like gloves and goggles. Clear any blockages carefully, and tighten fittings if needed. Always unplug the sprayer before maintenance. Regularly inspecting and maintaining your equipment helps prevent leaks and jams, ensuring safe and efficient painting.
Conclusion
Follow these seven steps, and you’ll be unstoppable—like a paint-spraying superhero! No more drips, splatters, or accidental masterpieces on your walls. With the right prep, safety gear, and practice, you’ll turn that paint sprayer into your trusty sidekick. Before you know it, you’ll be conquering projects faster than you can say “perfect finish,” leaving behind a trail of flawless, professional-looking results—because a disaster-free paint job is just seven steps away!