If your 4K laptop screen looks weird or blurry, it’s likely due to improper display scaling settings. You should adjust the scale and resolution in your display settings to match your high-resolution display properly. Using the right scaling guarantees text and images appear sharp and appropriately sized. For detailed steps on fixing this issue and optimizing your display, keep exploring the tips and adjustments that can improve your visual experience.
Key Takeaways
- Adjust display scaling in Settings > System > Display to increase text and icon size for better readability.
- Select the recommended resolution for your 4K display to optimize sharpness and prevent blurriness.
- Fine-tune the scaling slider to balance workspace space and visual clarity, avoiding tiny or blurry elements.
- Update graphics drivers to ensure compatibility and proper rendering of high-resolution content.
- Use calibration tools to fine-tune color and sharpness, improving overall display appearance on 4K laptops.

HP 15.6" FHD Laptop 2026 Edition with Copilot AI, 8GB RAM, 256GB SSD, Intel Processor, Long Battery Life, Lightweight 3.64 lbs, Microsoft 365, Windows 11 for Students & Office, with 5 in 1 hub
Powerful Everyday Performance: Intel N100 processor with 8GB RAM handles multiple browser tabs, Microsoft Office for web, video...
As an affiliate, we earn on qualifying purchases.
Why Does My 4K Laptop Screen Look Tiny or Blurry?
If your 4K laptop screen looks tiny or blurry, it’s usually because your operating system isn’t scaling content properly for the high pixel density. Modern displays have a high display density, meaning they pack many pixels into a small space, which makes images and text sharper but smaller. Without proper pixel scaling, Windows struggles to adjust interface elements to match this high resolution, causing everything to appear minuscule or blurry. This mismatch occurs because the system isn’t automatically resizing content to fit the screen’s pixel density. As a result, items may look tiny, and details can seem fuzzy. To fix this, you need to understand how display density affects your viewing experience and how pixel scaling can help make everything clearer and easier to read. Adjusting display settings or using recommended scaling options can significantly improve your visual experience. Proper color accuracy and contrast ratio adjustments can also improve overall image quality on high-resolution screens. Additionally, exploring scaling options in your operating system can help customize the display to your preferences and improve readability, especially considering the cryptid mysteries and other folklore influences that have shaped perceptions of high-tech displays in popular culture.

15.6 Inch Laptop with Office 365, 4GB RAM, 128GB Storage Expandable 1TB, 5205U Processor, HD Display, Windows 11 Laptops Computer, Wi-Fi 5, BT4.2, Numpad, Type-C, for Business and Students.
Portable Lightweight Design: Weighing just 3.6 lbs, the Laptop S7HI is portable, making it perfect for travel, work,...
As an affiliate, we earn on qualifying purchases.
How to Change Display Scaling Settings in Windows for Better Clarity
To improve clarity on your 4K display, you can adjust the resolution and text size settings. Use the display scaling slider to find a balance that makes everything sharp and easy to read. Customizing these options helps guarantee your screen looks just right. Additionally, understanding display protocols can optimize how your system handles high-resolution screens for better performance. For safe and effective adjustments, ensure you are familiar with the essential DIY tools and follow proper safety tips to avoid issues during setup.
Adjust Display Resolution
Adjusting your display resolution is a straightforward way to improve clarity on your 4K laptop. To do this, go to Settings > System > Display, then select “Display resolution.” For excellent sharpness, choose the recommended resolution, usually labeled as “Recommended.” This step guarantees proper resolution calibration, making text and images clearer. Keep in mind that changing resolution can affect performance and visual quality, so experiment with different settings if needed. Additionally, adjusting scaling settings afterward can help fine-tune how content appears, especially if things look too small or too large. Remember, resolution calibration directly influences how sharp your display looks, so selecting the right resolution is key to achieving the best visual experience on your 4K laptop. Proper maintenance of your device’s display involves understanding monitoring display quality and making adjustments accordingly.
Customize Text Size
After setting your display resolution, fine-tuning the text size can further enhance clarity and readability. To do this, go to your display settings and adjust the custom text size or scaling options. This helps improve font smoothing, making text crisper and easier on the eyes. Additionally, consider calibrating colors to ensure text stands out clearly against backgrounds, reducing strain and improving overall clarity. You can access these options through the “Display” menu in Windows, where you’ll find the “Advanced scaling settings” or “Custom scaling” options. Adjusting these settings allows you to personalize your display for better readability without sacrificing visual quality. Remember, small tweaks can make a significant difference in how sharp and clear your text appears on high-resolution screens. Proper scaling ensures your content remains vetted for clarity and comfort, and experimenting with different settings can help you find the most comfortable viewing experience. Moreover, understanding how display scaling impacts user experience can empower you to optimize your screen for maximum comfort.
Use Scaling Slider
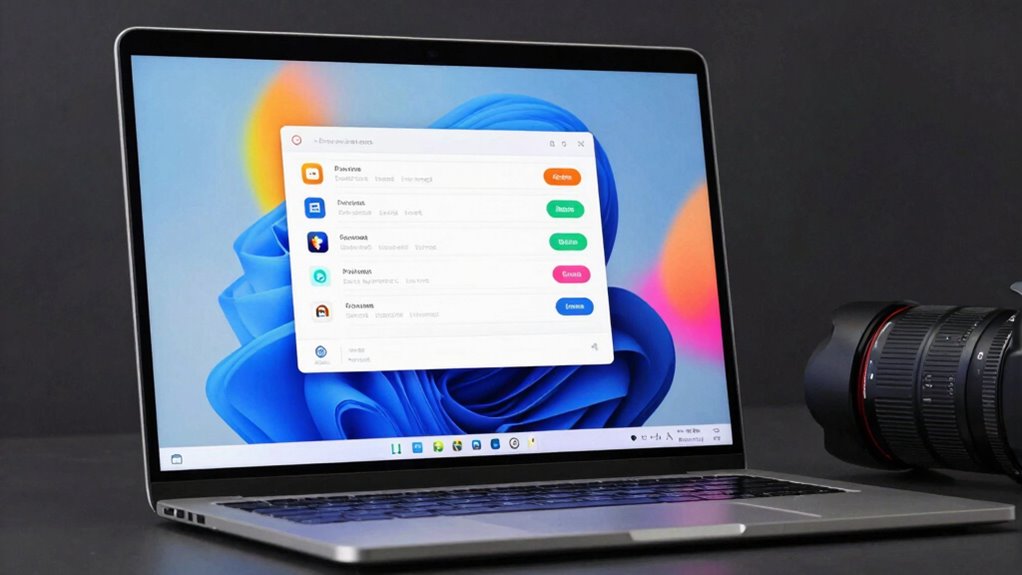
Using the scaling slider in Windows makes it easy to customize your display size for better clarity. To do this, open the Display Settings and locate the Scaling slider under the “Scale and Layout” section. Adjust the slider to increase or decrease the display size, which helps improve readability and overall sharpness on high-resolution screens. This scaling adjustment can also help prevent visual artifacts and distortions that sometimes appear on 4K displays. Proper display calibration ensures that your visuals are accurate and crisp, reducing the need for frequent adjustments. This scaling slider adjustment allows you to find a comfortable balance between text size and workspace space, ensuring everything looks clear without excessive zoom. Simply move the slider left or right, then apply the changes. This display size customization is a quick way to fix weird-looking 4K visuals, making your screen more comfortable for extended use while preserving crisp image quality. Additionally, adjusting display scaling can prevent eye strain and enhance overall viewing comfort during long periods of use. Understanding how affiliate disclosures work can help you stay informed about potential product recommendations related to display accessories or screen calibration tools. Moreover, utilizing AI-powered tools can assist in optimizing your display settings for better visual performance.

HP Stream 14 Student Business Laptop, Microsoft Office 365, Copilot AI, 4GB RAM, 128GB UFS, Intel N150 Processor(Quad-core), Willow Green, Windows 11 Home, with 5ave Kit
✿【Upgraded】We sells computers with professionally upgraded to 4GB RAM | 128GB UFS. Original Seal is opened for upgrade...
As an affiliate, we earn on qualifying purchases.
Choosing the Right Resolution for Sharp, Clear Graphics
Choosing the right resolution is essential for achieving sharp, clear graphics on your 4K laptop. A high DPI (dots per inch) display offers crisp images, but if your resolution isn’t optimized, text can appear tiny or blurry. Adjusting font scaling guarantees readability without sacrificing sharpness. Consider this table to help visualize your options:
| Resolution | Font Scaling | Effect |
|---|---|---|
| 3840×2160 | 150% | Clear text, sharp images |
| 3840×2160 | 125% | Slightly smaller text, sharp |
| 2560×1440 | 125% | Good balance, clear graphics |
| 1920×1080 | 100% | Standard size, moderate sharpness |
| 1280×720 | 100% | Less sharp, larger elements |
Choosing the right resolution and font scaling guarantees your graphics are both sharp and comfortable to view. Ensuring the display settings are optimized can significantly improve your visual experience, especially with display scaling for high-resolution screens. Properly configuring visual settings helps prevent eye strain and improves overall clarity. Additionally, understanding pixel density can further enhance your display customization for the best visual quality. Being aware of display calibration techniques can also optimize your screen’s color accuracy and sharpness.

HP 14” Laptop Ultra-Portable Computer 2026 Student Business, MS Office, Copilot AI, Intel 4-Core CPU, 4GB RAM, 628GB Storage (128GB UFS+500GB Ext), Long Battery, MaxsolAccessory, Win 11 Pro, Lavender
【4GB RAM + 628GB Storage (128GB SSD + 500GB External)】Equipped with 4GB of high-bandwidth RAM for smooth multitasking...
As an affiliate, we earn on qualifying purchases.
Common 4K Scaling Problems and How to Fix Them
While adjusting resolution and font scaling improves clarity, many users still encounter common scaling issues on 4K laptops. These problems include blurry text, inconsistent icon sizes, poor color calibration, and sluggish performance. To fix blurry text, try adjusting display scaling settings or updating graphics drivers. For example, display scaling can be fine-tuned through your operating system’s settings to enhance text sharpness. Additionally, understanding screen resolution helps recognize how pixel density impacts visual clarity. For icon size inconsistencies, tweak scaling options in display settings or consider hardware upgrades like a better GPU. Color calibration issues can be resolved with calibration tools or professional calibration devices, ensuring accurate hues and contrast. If performance lags during scaling adjustments, upgrading hardware components such as RAM or SSD can help. Recognizing these issues and applying targeted fixes ensures a smoother, more visually appealing 4K experience. Moreover, understanding monitor calibration can help optimize your display for better color accuracy and clarity. Additionally, understanding appliance maintenance plans can help prolong your device’s lifespan and maintain optimal performance.
Tips to Make Apps Look Better on Your 4K Screen
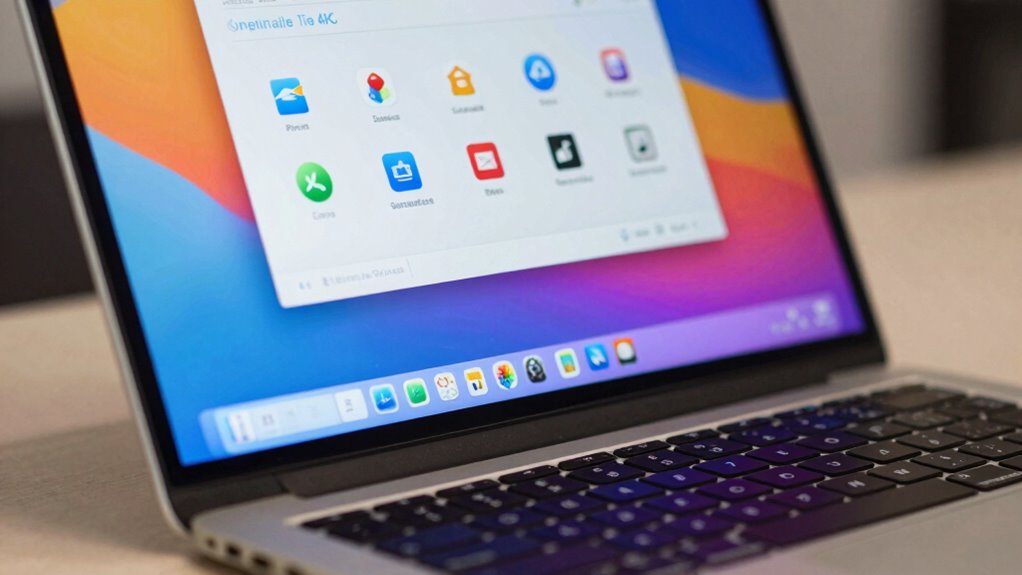
To make apps look sharper and more consistent on your 4K screen, you need to optimize how they handle scaling and resolution settings. Start by choosing a high-resolution desktop background that matches your display’s native resolution for better clarity. Adjust app scaling settings individually if needed—some programs allow you to set specific scaling factors to improve readability. Keep in mind that certain apps may appear blurry or unevenly scaled, so updating or reinstalling them can help. For gaming, lower the in-game resolution or enable scaling options to improve performance and visuals. Properly configuring these elements helps your desktop backgrounds stay crisp and ensures your gaming performance remains smooth, making your overall experience more seamless and visually appealing on your 4K display.
Advanced Settings to Fine-Tune Your 4K Display
Fine-tuning your 4K display involves adjusting advanced settings within your operating system and graphics driver to achieve ideal clarity and performance. To do this effectively, consider these steps:
- Access your display settings to refine color calibration, ensuring accurate colors and better visual quality.
- Check hardware compatibility to prevent performance issues and ensure your GPU supports 4K smoothly.
- Adjust scaling options within your graphics driver to optimize text and UI element sizes without sacrificing sharpness.
- Enable any available advanced features like supersampling or custom resolution modes for improved clarity.
How to Test Your Changes and When to Seek Extra Help

After making adjustments, you should verify that your display settings are correct and consistent across applications. If issues persist or the screen looks distorted, it’s time to recognize when to ask for extra help. Knowing when your tweaks aren’t enough guarantees you get the support you need to fix the problem quickly.
Verify Display Settings
Once you’ve made adjustments to your display settings, it is vital to verify that everything looks correct. Start by checking your display calibration to ensure images appear accurate and sharp. Next, review your color management settings to confirm colors are consistent across applications. To test your changes thoroughly, consider these steps:
- Open a variety of images and videos to observe color fidelity.
- Use built-in calibration tools or third-party software for precise adjustments.
- Check text clarity and icon scaling for readability.
- Confirm that display scaling is uniform across different programs and windows.
If anything appears off—such as colors looking dull or text blurry—revisit your settings. Proper verification helps prevent eye strain and guarantees a better visual experience.
Recognize When To Ask
Testing your display adjustments is key to ensuring everything looks right, but knowing when to ask for help can save you time and frustration. It’s important to recognize when your changes aren’t producing the desired results or if new issues crop up. If you identify issues like blurry text, inconsistent scaling, or distorted images that you can’t fix after troubleshooting, it’s time to seek extra help. Don’t hesitate to consult online forums, manufacturer support, or technical experts if you’re unsure whether your adjustments are correct. Sometimes, problems require specialized tools or deeper knowledge. By learning to recognize when your attempts aren’t enough, you can avoid wasted effort and get back to a comfortable, correctly scaled display faster.
Frequently Asked Questions
Can I Use a 4K Laptop Without Scaling Adjustments?
You can use a 4K laptop without scaling adjustments, but resolution challenges might affect your experience. Without scaling, the font size and icons could appear tiny, making it hard to read or navigate comfortably. To avoid frustration, you’ll likely want to adjust the scaling settings so that UI elements are appropriately sized. This way, you get the sharp resolution benefits without sacrificing usability or comfort.
What Software Tools Help Improve 4K Display Clarity?
For clearer 4K display, focus on fantastic software tools like DisplayCAL for resolution enhancement and color calibration. These tools help you fine-tune your display’s fidelity, fixing fuzziness and ensuring vibrant visuals. You’ll see sharper text, smoother images, and better color accuracy, making your 4K experience more satisfying. By adjusting settings with these programs, you create a crisp, colorful, and comfortable viewing environment that truly showcases your high-resolution display’s potential.
How Does Display Scaling Affect Battery Life?
Display scaling can increase battery drain because it requires more processing power to render high-resolution images and text clearly. When scaling is set higher, your device consumes more power, leading to faster battery depletion. To conserve power, you might want to optimize scaling settings or lower the resolution slightly. This reduces the workload on your GPU and CPU, decreasing overall power consumption and extending your laptop’s battery life.
Are There Specific 4K Laptops Better for Scaling Issues?
Yes, some 4K laptops are better for scaling issues. Look for models with good display calibration and high color accuracy, like those from Dell’s XPS series or Apple’s MacBook Pro. These laptops often have better hardware and software support for scaling, making icons and text clearer. Selecting a model with a high-quality display guarantees you get accurate colors and sharp images, reducing the weird appearance often caused by poor scaling.
How Often Should I Update My Graphics Drivers for Optimal Display?
You should update your graphics drivers regularly, ideally once a month or whenever a new driver update is released. Keeping your driver updates current ensures superior display and smooth performance, especially when dealing with high-resolution screens like 4K. Regular updates fix bugs, improve compatibility, and enhance display enhancement. Don’t wait for issues to appear—staying proactive with driver updates helps maintain the best visual experience on your laptop.
Conclusion
Once you’ve adjusted your scaling and resolution, you’ll notice your 4K display becomes sharper and more comfortable to use. It’s funny how a few tweaks can transform your viewing experience, almost like the screen was meant to look perfect all along. So, don’t be surprised if, after these fixes, your laptop suddenly feels like it was designed just for you. Sometimes, the right settings are all it takes to access your device’s true potential.