Measuring your projector’s throw distance accurately is essential to get a sharp, properly scaled image without distortion or dimness. If you skip this step or estimate wrongly, your picture may appear skewed, blurry, or too small or large for your space. Proper calculation ensures ideal placement, brightness, and clarity. To avoid common mistakes and achieve the best results, it’s important to know how to measure and plan effectively—there’s more to contemplate if you keep going.
Key Takeaways
- Accurate measurement of throw distance ensures properly scaled, sharp images without distortion or blurriness.
- Use the projector’s throw ratio and screen size to calculate the ideal distance precisely.
- Relying on estimates or ignoring measurements can cause image distortion, reduced brightness, and setup issues.
- Properly measuring and adjusting placement prevents cropping, keystone effects, and lens distortion.
- Double-check measurements with tools like tape measures to avoid costly setup errors and image quality loss.

Kiprim 393ft Dual Laser Distance Measuring Tool LD120S, 120m Total Range, Electronic Level, Precise Measurements, and Pythagorean Function – Ideal for Construction, DIY, and Home Renovation
Dual Laser Heads for Faster Measurements: Measure in two directions at once, saving time and effort on complex…
As an affiliate, we earn on qualifying purchases.
As an affiliate, we earn on qualifying purchases.
Why Accurate Throw Distance Matters for Projectors
Accurate throw distance is essential because it directly affects the quality and usability of your projected image. If you don’t get the projection accuracy right, your picture may be distorted, blurry, or improperly scaled. This makes setup precision vital, as even small miscalculations can lead to poor image quality or the need for frequent adjustments. When you measure and set the right throw distance, your projector can deliver sharp, clear visuals exactly where you want them. Ensuring proper projection accuracy saves you time and frustration, helping you avoid repositioning the projector repeatedly. By paying attention to the correct throw distance during setup, you create a seamless viewing experience that’s both professional-looking and enjoyable. Additionally, understanding your projector’s throw ratio ensures optimal placement for the best image quality. Properly calibrating your setup also involves considering distance measurement techniques to achieve consistent results.
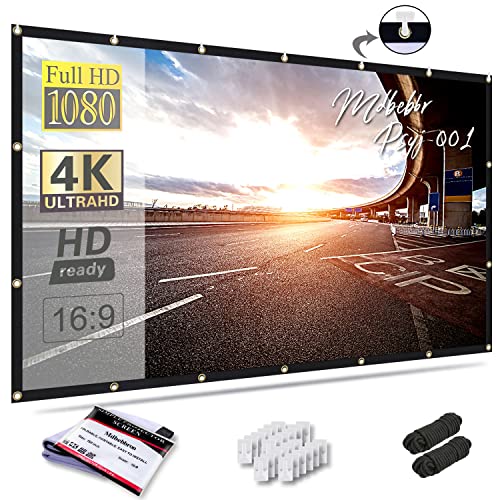
Mdbebbron 120 inch Projector Screen 16:9 Foldable Anti-Crease Portable Projector Movies Screens for Home Theater Outdoor Indoor Support Double Sided Projection
CONVENIENT TO STORAGE AND CARRY : Compact one-piece,lightweight and folding design. You can fold the projector screen in…
As an affiliate, we earn on qualifying purchases.
As an affiliate, we earn on qualifying purchases.
How to Measure Your Room Size and Plan Screen Placement
Before you start setting up your projector, it’s important to measure the room size and plan where the screen will go. First, measure the room’s length, width, and ceiling height to determine available space and ideal placement. Consider room acoustics, as sound reflections can affect viewing quality; placing the screen away from reflective surfaces helps improve clarity. Knowing the ceiling height is vital for mounting options and ensuring the projector isn’t obstructed. Mark potential screen locations on the wall, keeping sight lines in mind. Also, think about furniture placement to avoid blocking the image or interfering with sound. Proper planning ensures your projector fits well within the space and provides the best viewing experience, avoiding future adjustments or compromises. Additionally, understanding projector throw distance is crucial for selecting the right size and placement of your screen. Assessing cabling solutions during planning can prevent future connectivity issues and ensure a clean setup. Taking accurate measurements and considering room dimensions helps optimize overall projector performance and viewing comfort. Considering room acoustics can also enhance sound quality and overall viewing experience.
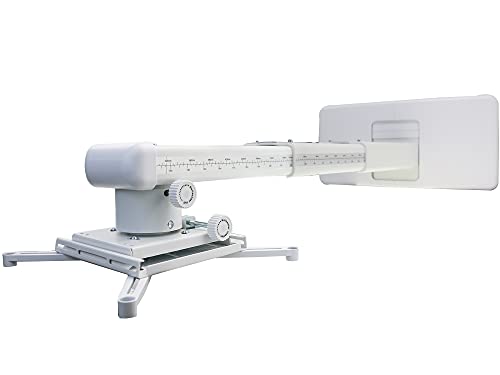
NC Projector Wall Mount with Universal mounting ,Telescopic Bracket Hanger,33lbs Load Capacity,High-Precision Adjustable: (12.8’’-29.13’’),white,(TYYZJ02)
ultra Short Throw Projection,Most sturdy of all, great fine tune knobs, best manual (very very detailed),It has the…
As an affiliate, we earn on qualifying purchases.
As an affiliate, we earn on qualifying purchases.
What Is Throw Ratio and Why Does It Matter?
Understanding throw ratio is essential because it determines how far your projector needs to be from the screen to produce a specific image size. This ratio is a key factor in projection technology, as it influences your setup’s flexibility and space requirements. Throw ratio is calculated by dividing the projector’s throw distance by the image width. Different projectors have varying lens specifications that affect this ratio, with some offering short-throw or ultra-short-throw capabilities for smaller spaces. Knowing the throw ratio helps you select a projector that fits your room dimensions and desired screen size. It ensures you avoid placement issues or compromised image quality. Ultimately, understanding this ratio helps you optimize your setup for the best viewing experience.

Laser Measure,RockSeed Digital Laser Distance Meter with 2 Bubble Levels,Portable M/in/Ft Unit Switching Backlit LCD and Measuring Distance/Area/Volume/Pythagorean
★ HIGH ACCURACY & UNIT SWITCHABLE ★ With unique 2 Bubble Levels, providing more precise measurement compared to…
As an affiliate, we earn on qualifying purchases.
As an affiliate, we earn on qualifying purchases.
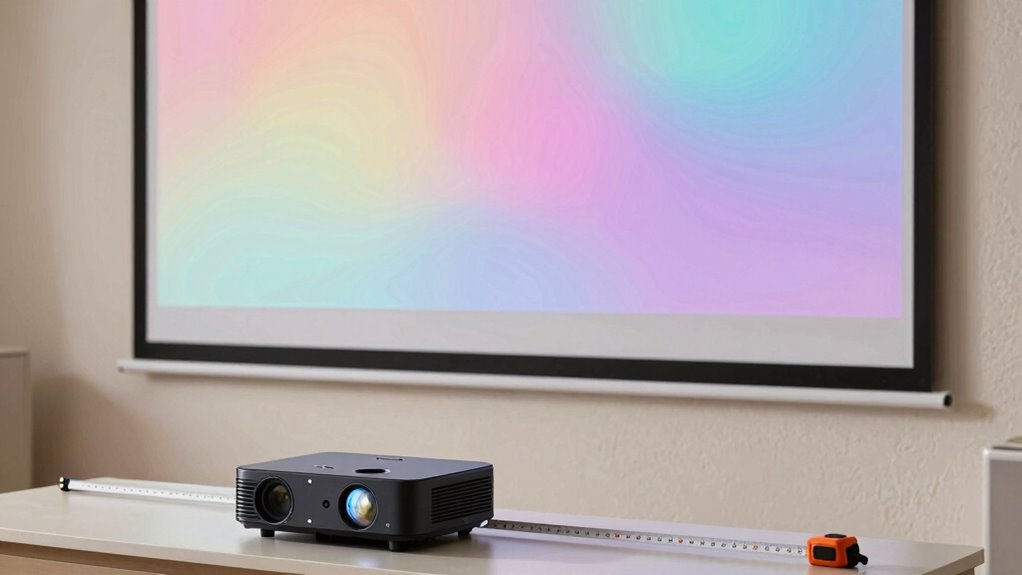
How to Calculate the Right Projection Distance Step-by-Step

Calculating the right projection distance starts with knowing your desired screen size and the projector’s throw ratio. First, determine your screen’s width. Then, multiply that by the projector’s throw ratio to find the essential distance. Proper projection calibration is vital for sharp images, so measure carefully during installation. Use these guidelines to guarantee accurate setup:
| Screen Size (inches) | Throw Ratio | Projection Distance (feet) |
|---|---|---|
| 100 | 1.5 | 12.5 |
| 120 | 1.8 | 18 |
| 150 | 2.0 | 25 |
| 180 | 2.5 | 37.5 |
| 200 | 3.0 | 50 |
Adjust your installation techniques based on these calculations for ideal image quality and seamless projection calibration.
Common Mistakes When Measuring Throw Distance (and How to Avoid Them)

One common mistake is ignoring your actual measurements, which can lead to inaccurate throw distance calculations. You might also overlook how screen size impacts where you should place your projector. To get it right, always measure carefully and consider your screen’s dimensions in your setup. Additionally, understanding car protection options can help optimize your setup and prevent damage from external factors.
Ignoring Actual Measurements
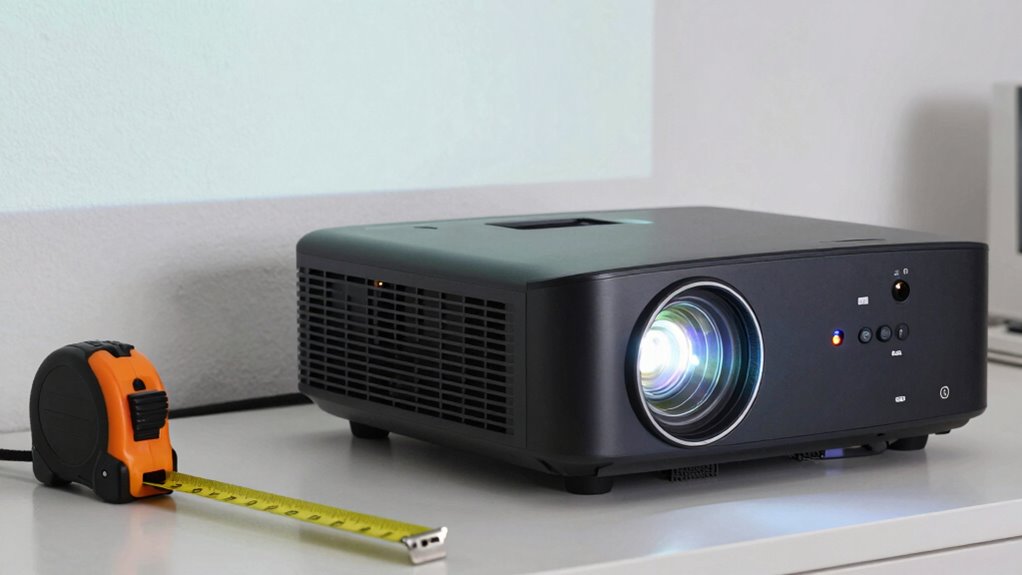
Many people make the mistake of ignoring the actual measurements of their projector’s throw distance, which can lead to distorted images or inadequate screen size. Relying on estimates or manufacturer recommendations without verifying measurements often results in measurement inaccuracies and placement errors. To avoid this, always measure from the projector’s lens to the screen accurately. Use a tape measure and double-check your readings. Incorrect placement can cause the image to be too large, too small, or skewed. Remember, precise measurements ensure perfect image quality and proper fit. Here’s a quick reference:
| Tip | Explanation |
|---|---|
| Measure twice | Confirm measurements to avoid errors |
| Use a tape measure | Ensure accuracy with proper tools |
| Check angles | Avoid distortion from improper alignment |
| Record distances | Keep track for future adjustments |
Overlooking Screen Size Factors
Ignoring how screen size impacts your projector setup can lead to significant errors in measuring throw distance. If you overlook the screen size, you might set up your projector either too close or too far, resulting in a distorted or incomplete image. Room dimensions also play a role; a larger room demands a different throw distance than a smaller one. Failing to consider these factors means you won’t achieve the ideal image size or clarity. Always measure your screen size accurately and account for room dimensions when planning your setup. This ensures the projector’s throw distance aligns correctly with the screen, providing a sharp, properly sized image. Avoid assumptions—precise measurements of screen size and room space prevent common setup mistakes.
How to Choose the Best Projector for Your Space and Throw Distance

Choosing the right projector for your space starts with understanding your throw distance—the space between the projector and the screen. To select the best model, consider these factors:
- Room Size: Larger rooms need projectors with longer throw distances, similar to planning a mountain biking trail that spans a wide area.
- Projection Type: Short-throw projectors are ideal for tight spaces, like a compact kitchen where culinary arts are your focus, minimizing setup issues.
- Image Quality Needs: Higher resolution projectors provide sharper images, essential for detailed visuals, whether you’re analyzing trail maps or precise plating techniques.
Which Calculator Tools and Apps Can Help You Plan Your Throw Distance?

To accurately determine your ideal projector placement, leveraging calculator tools and apps can save time and improve precision. These tools help you account for factors like screen calibration and ambient lighting, guaranteeing your setup delivers the best image quality. Many apps allow you to input room dimensions, projector specifications, and desired image size, automatically calculating the perfect throw distance. Some programs also include calibration guides to help you adjust settings for the best color, contrast, and brightness. By using these tools, you’ll avoid guesswork and ensure your projector is positioned correctly from the start. Many of these calculators are free or inexpensive, making them accessible for DIY installers and professionals alike. They’re invaluable for achieving a clear, well-lit picture with minimal hassle.
How Incorrect Throw Distance Affects Image Size and Quality
When your projector isn’t at the correct distance, you risk image distortion and uneven focus that can ruin your viewing experience. You might also notice the image appears dimmer or gets cropped unintentionally, reducing overall clarity. Understanding how incorrect throw distance impacts these issues helps you optimize your setup for the best picture quality. Additionally, proper calibration of projector settings can help mitigate some of these problems and improve image sharpness. Being aware of throw distance guidelines ensures you achieve optimal image size and clarity for your space. Properly measuring and adjusting the projection area can further enhance your viewing experience and prevent setup errors. Recognizing the importance of lens shift can also help fine-tune image positioning without compromising quality. Furthermore, considering ambient lighting conditions can significantly affect perceived image brightness and contrast.
Image Distortion Risks
Incorrect throw distance can considerably distort your projected image, leading to size and quality issues. If the throw distance isn’t properly adjusted, you risk image distortion such as skewed shapes, blurry edges, or uneven focus. This often happens when lens alignment is off or ambient lighting levels interfere with image clarity. To visualize the risks:
- Misaligned lenses cause keystone distortion, making images trapezoidal.
- Too close or far throw distances result in compressed or stretched images.
- Excessive ambient lighting diminishes contrast, exposing focus flaws and magnifying distortion.
These issues emphasize the importance of precise throw distance measurement. Maintaining correct lens alignment and controlling ambient lighting conditions help prevent image distortion, ensuring your projection remains sharp, true to size, and visually appealing.
Reduced Screen Brightness
If you set your projector at the wrong throw distance, the screen’s brightness can suffer substantially. When the projection is too close or too far, the image may appear dimmer, especially in environments with ambient light. This reduction in screen brightness decreases visibility and contrast, making details hard to see. To understand this better, consider the following:
| Correct Throw Distance | Impact on Brightness |
|---|---|
| Accurate placement | Suitable screen brightness |
| Too close | Overly bright, loss of focus |
| Too far | Dimmer image, weaker contrast |
| Excess ambient light | Further diminishes brightness |
Choosing the right throw distance helps maintain clarity and ensures your screen is bright enough for any lighting conditions.
Unwanted Image Cropping
Setting your projector at the wrong throw distance can cause unwanted image cropping, meaning parts of the picture may be cut off or distorted. When you’re too close or too far, lens distortion can skew the image, making it appear stretched or compressed. Keystone correction might help, but it often introduces further image quality issues. To visualize the impact:
- The top or bottom edges of the image get cut off, losing important details.
- The sides may appear stretched or squished due to improper throw distance.
- The overall image quality suffers, with clarity reduced and distortions more noticeable.
Incorrect placement forces your projector to compensate, often leading to cropping and distortion. To avoid this, measure your throw distance carefully, ensuring the image fits perfectly without relying excessively on keystone correction or risking lens distortion.
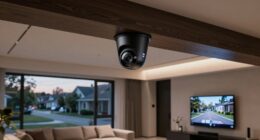
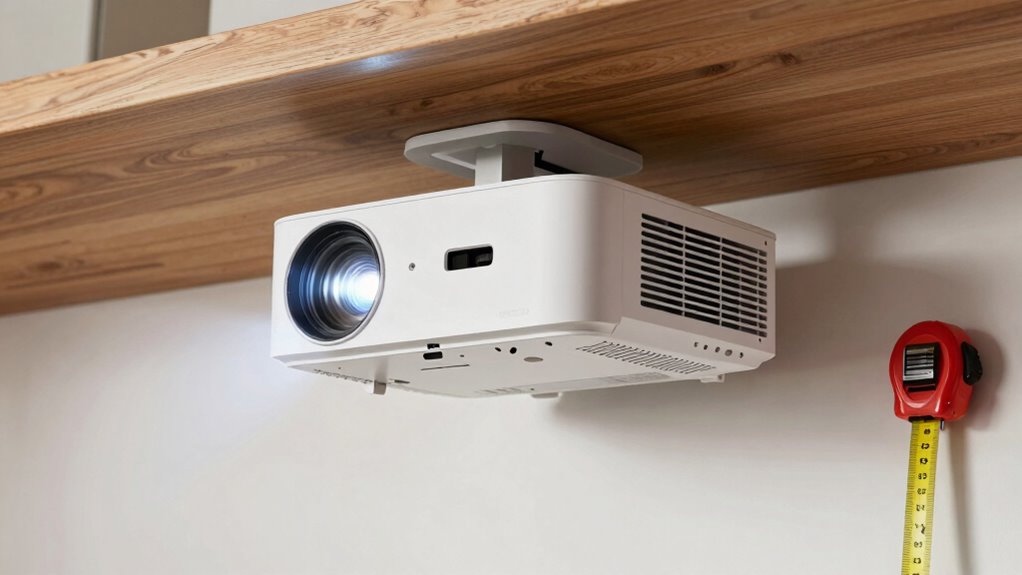
Tips for Perfecting Your Projector Placement for the Best Picture

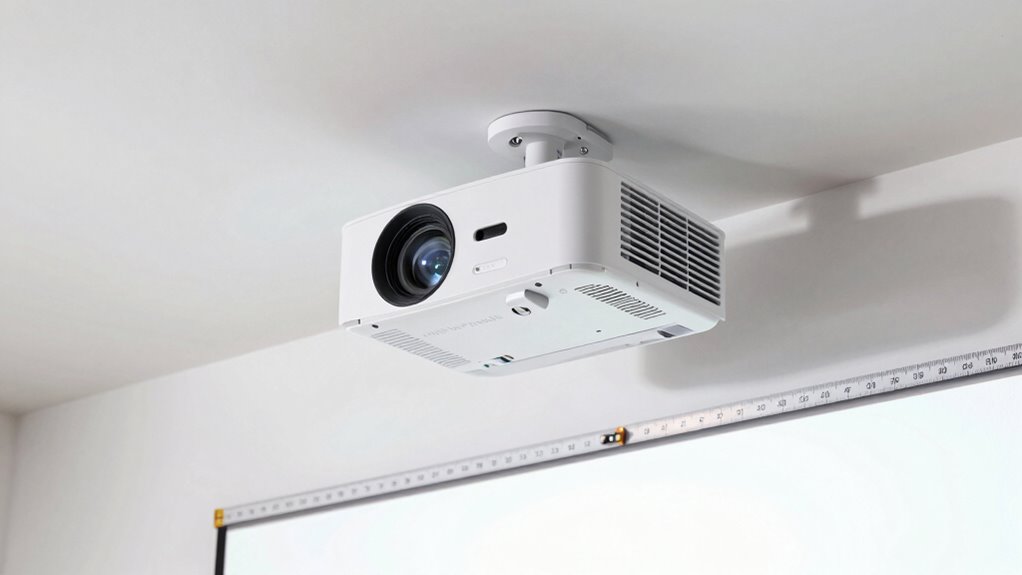
Achieving a crisp, clear picture from your projector relies heavily on proper placement. To optimize image quality, consider installing a ceiling mount, which provides stable, consistent positioning. Position the projector at the correct distance so the projector lens aligns perfectly with your screen, avoiding distortion or blurriness. Make sure the projector is level, and avoid placing it too close or too far from the screen, as this impacts picture sharpness and size. Adjust the tilt and angle to prevent keystone distortion, ensuring a rectangular image. Keep cables organized to prevent unintended shifts. Regularly check the projector lens for dust or smudges, which can diminish picture clarity. Proper placement and maintenance are key to enjoying the best possible viewing experience.
Frequently Asked Questions
Can Wall Color Affect Projected Image Quality?
Yes, wall color can greatly affect projection quality. Light-colored walls, especially white or neutral shades, enhance color accuracy and brightness, improving overall image clarity. Darker walls may absorb light, reducing brightness and contrast. Using proper screen materials designed for your projector helps maintain image sharpness and color fidelity. So, choosing the right wall color and screen ensures you get the best projection quality and an immersive viewing experience.
How Does Ambient Light Impact Throw Distance Accuracy?
Ambient light isn’t just a pesky glare; it actually interferes with your throw distance accuracy. When your room’s too bright, you might think your projector is perfectly placed, but in reality, the ambient light forces you to adjust or guess. For clearer images, minimize ambient light and carefully consider your projector placement. This ensures you hit the right throw distance, avoiding the frustration of constant readjustments and fuzzy screens.
Are Short-Throw Projectors Easier to Set Up?
Yes, short-throw projectors are generally easier to set up. You can quickly find the right projector placement because they require less space from the screen, making ceiling mounting simpler. With a short-throw projector, you don’t need to measure long distances or worry about complex adjustments. This makes installation faster and less complicated, so you can enjoy your setup without hassle.
What’s the Best Way to Hide Projector Cables?
To hide projector cables effectively, use cable concealment options like raceways or cord covers that blend seamlessly with your walls or ceiling. You can also run wiring solutions through wall cavities or behind furniture for a tidy look. Secure cables with clips or adhesive mounts to prevent tripping hazards. These simple steps keep your space organized, minimize visual clutter, and guarantee a sleek, professional setup.
Do Different Projector Brands Have Varying Throw Ratios?
Yes, different projector brands often have varying throw ratios, which can influence compatibility with your space. You’ll want to verify each brand’s compatibility with your setup to guarantee proper image size and clarity. Lens flexibility varies too, so consider if the projector offers zoom or lens shift features. These factors help you achieve the perfect throw distance and image quality, making your setup more versatile and easier to install.
Conclusion
Think of your projector setup as tuning a musical instrument. Just as a slight misadjustment throws off the harmony, an inaccurate throw distance skews your picture. Taking the time to measure carefully guarantees your image hits the right note—crisp, clear, and perfectly aligned. Don’t let guesswork turn your home theater into a dissonant mess. Measure accurately, and you’ll enjoy a symphony of stunning visuals that truly resonate.